Live Twitter Feed
Blog Index

Entries in DIY (34)

Wednesday
Nov262014

Holiday Sales 2014

For the 2014 holiday season, the Roarockit Skateboard Company has some great promotions designed for both experienced board builders and those who want an introduction to building their own deck from scratch. 

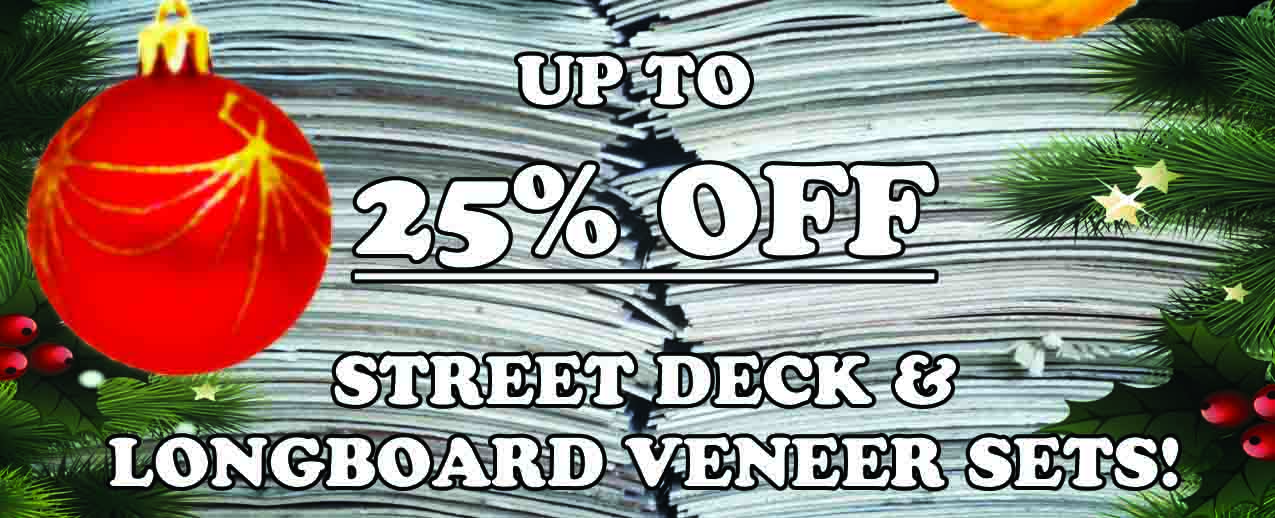
First off, we have slashed prices on all of our Street Deck and Longboard sized veneer packs! 

This includes:

7 Layer Street Deck Sets (9.5" x 34") - 4 Decks, 10 Decks, 15 Decks, 20 Decks and 30 Decks

7 Layer Longboard Sets (12" x 48") - 2 Decks, 4 Decks, 10 Decks, 20 Decks and 30 Decks

9 Layer Longboard Sets (12" x 48") - 2 Decks, 4 Decks, 10 Decks, 20 Decks and 30 Decks


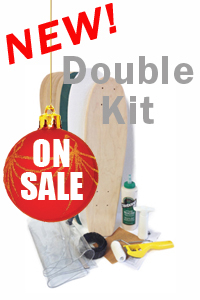
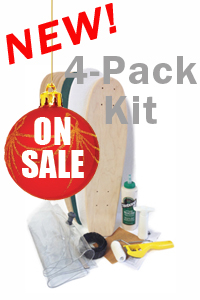
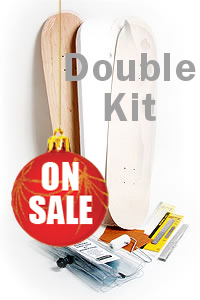
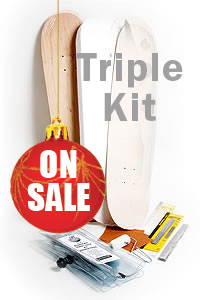
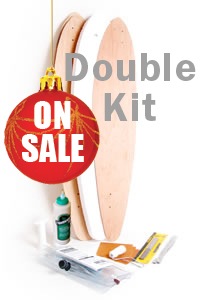
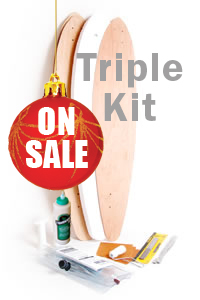
We are also offering a 15% discount on some of our board building Master Kits to encourage new builders to start making their own custom decks. These 'All-In-One' products come with everything needed to make one of three preshaped boards from start to finish, including glue, a 14”x47” Thin Air Press vacuum bag, maple veneers, a shaped foam mold, hand tools, sandpaper and more!

There are three different styles of boards to choose from:

Lil' Rockit Double KitLil' Rockit 4 Pack Kit


Street Deck Double KitStreet Deck Triple Kit


Pintail Double KitPintail Triple Kit


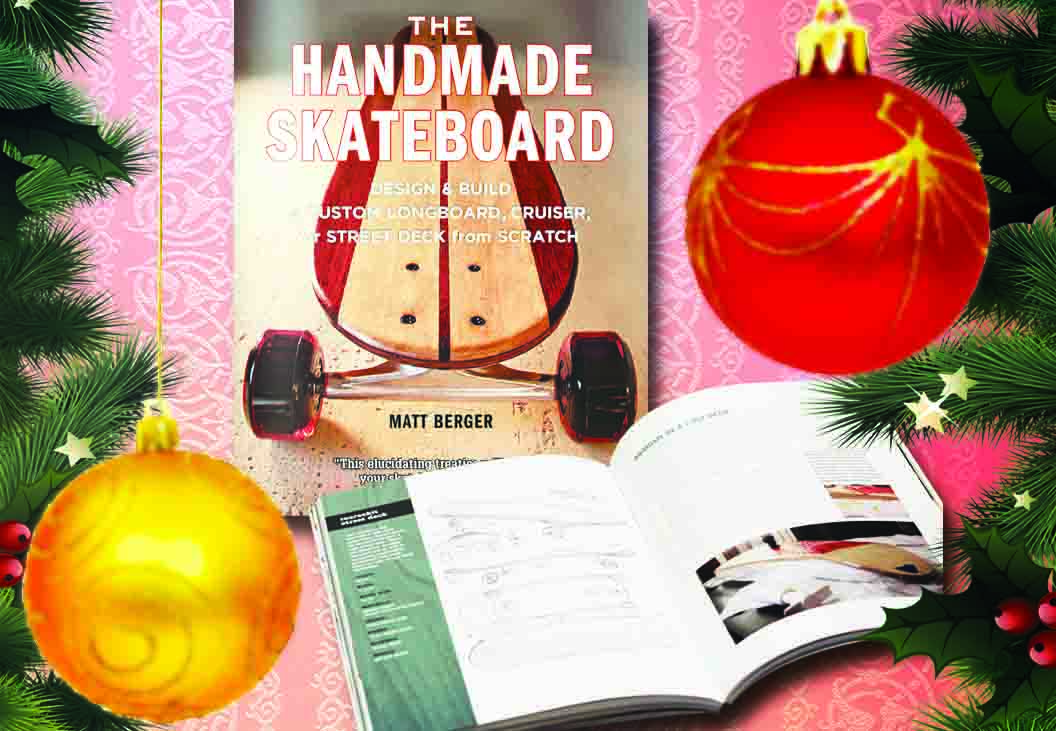
And don't forget about the new Handmade Skateboard book by Matt Berger! This book goes over the history of skateboard building and design, includes step-by-step instructions for 5 different skateboard builds, and profiles some of the top skateboard builders. This book is a great gift idea for anyone who likes working with their hands, and is available on our website along with all of our skateboard building tools and materials. 

Monday
Nov172014

Studio Skate Co.

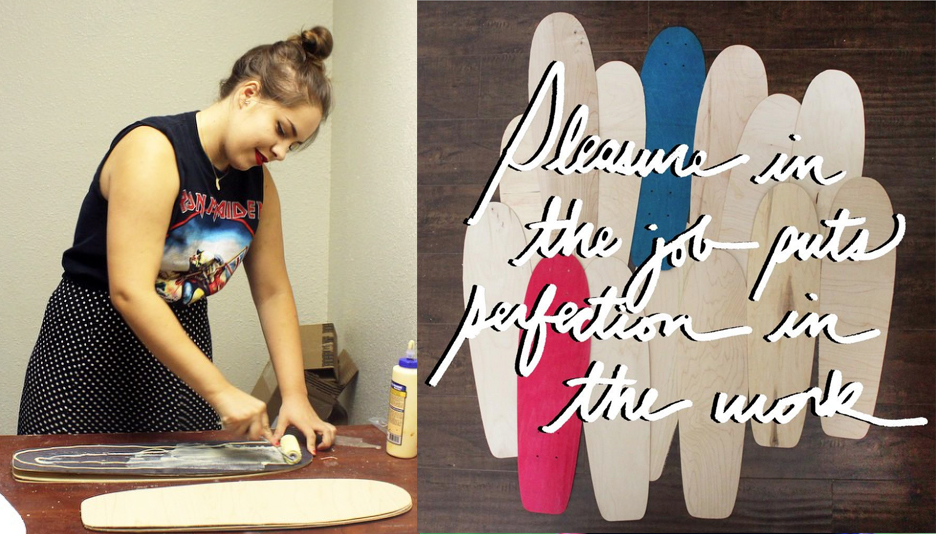
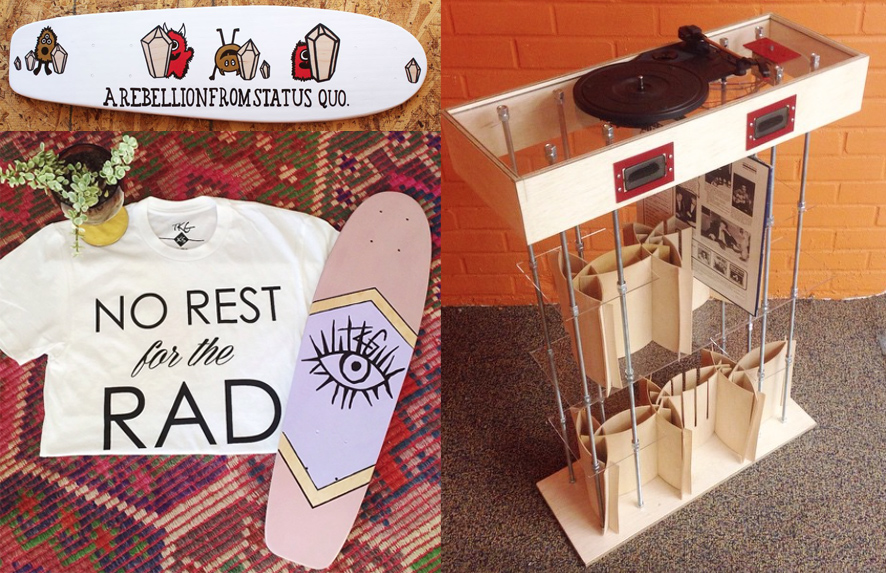
Paige Poppe is a creative entrepreneur who paints incredible custom graphics on skate decks, and recently launched the Studio Skate Co. with the help of a successful Kickstarter campaign. She has also started to make her own custom decks, using Roarockit's Thin Air Press technology, as canvasses for her work.

We were able to chat with Paige about her experiences crowdfunding, making boards and the future of Studio Skate.

How did you get started doing your artwork on decks?

Paige - I learned how to longboard in high school and got so into it! I bought a deck at my local skate shop, but none of the graphics were 100% me, so I figured why not design my own? I started by woodburning myself a longboard, and then started painting more as gifts from my friends. They loved how personalized they were and I loved working with the unique canvas! So I opened up an Etsy shop and continued painting and offering custom decks.


With so many skateboard related projects looking to crowd funding to help get started, do you have any advice or experiences from your own Kickstarter campaign that you would like to share?

Paige - Since I already had an Etsy shop, the Kickstarter was my way of taking my business more seriously. I created a name for my business, Studio Skate, and designed a logo. I think creating a solid logo + graphics really helped my project get successfully funded! It also helped me to have existing customers of my art and a following from my blog where I was sharing my pieces. I reached out to those people who were already attracted to my work, and they wanted to see Studio Skate become a reality! My final piece of advice is to utilize social media. My favorite is Instagram, and I have made so many connections with people through that community.

P.S. You can find me there @paigepoppe and I'd love if you stopped by to say hey! 

How did you hear about Roarockit? How has it changed your business?

Paige - Speaking of Instagram, I heard about Roarockit in the most roundabout way! Here's the story: I was promoting my Kickstarter through Instagram posts during my last month of study abroad while living in Copenhagen. I found a Danish skateboard company called Parfa Crew on Instagram and really liked their graphics. I left a comment and followed their account. Next thing I know, the owner Palle had donated to my Kickstarter and asked if I would like to stop by his studio and chat. He was so kind and showed me how he runs his business, and that's when he showed me the Roarockit technology! I was so excited to find out about this skateboard making method because I knew I wouldn't have access to power tools over the summer. 

I am really grateful to Palle for teaching me about Roarockit, and I love this company for making creativity possible! I get so much joy out of creating my entire process, from shaping to painting by hand, and Roarockit makes that possible. 
What have been some of your favorite projects so far?

Paige - I *love* working with clients to create custom deck art for them, but I am especially proud of starting to work with apparel brands to create logo decks for them. Recently I've worked with State Forty Eight, Salt City Emporium, and Top Knot Goods! They're all rad people behind rad companies who support local + handmade artists. 

I also made a record player and used the Thin Air Press for part of the construction to create some wood arcs that are structural + hold records!
What do you see in the future for the Studio Skate?

Paige - I would love to continue working with brands + clients to create handmade + handprinted decks. The beauty of what I do is that it is 100% custom, so the outcome is always fun! 

I am also launching a really great new line of customizable skateboards in the near future... It's still a secret, but follow along and stay tuned! I think you will love it :)
 

Tuesday
Oct282014

Opening the TAP Bag Tips

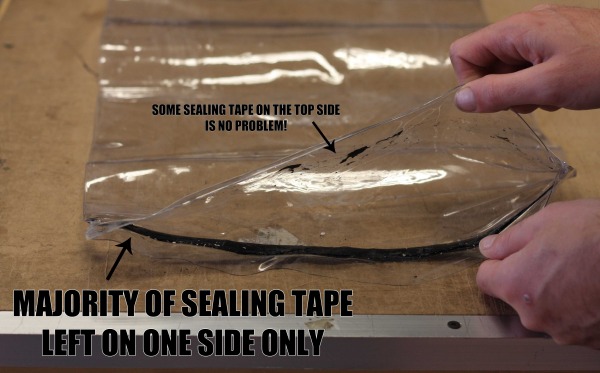
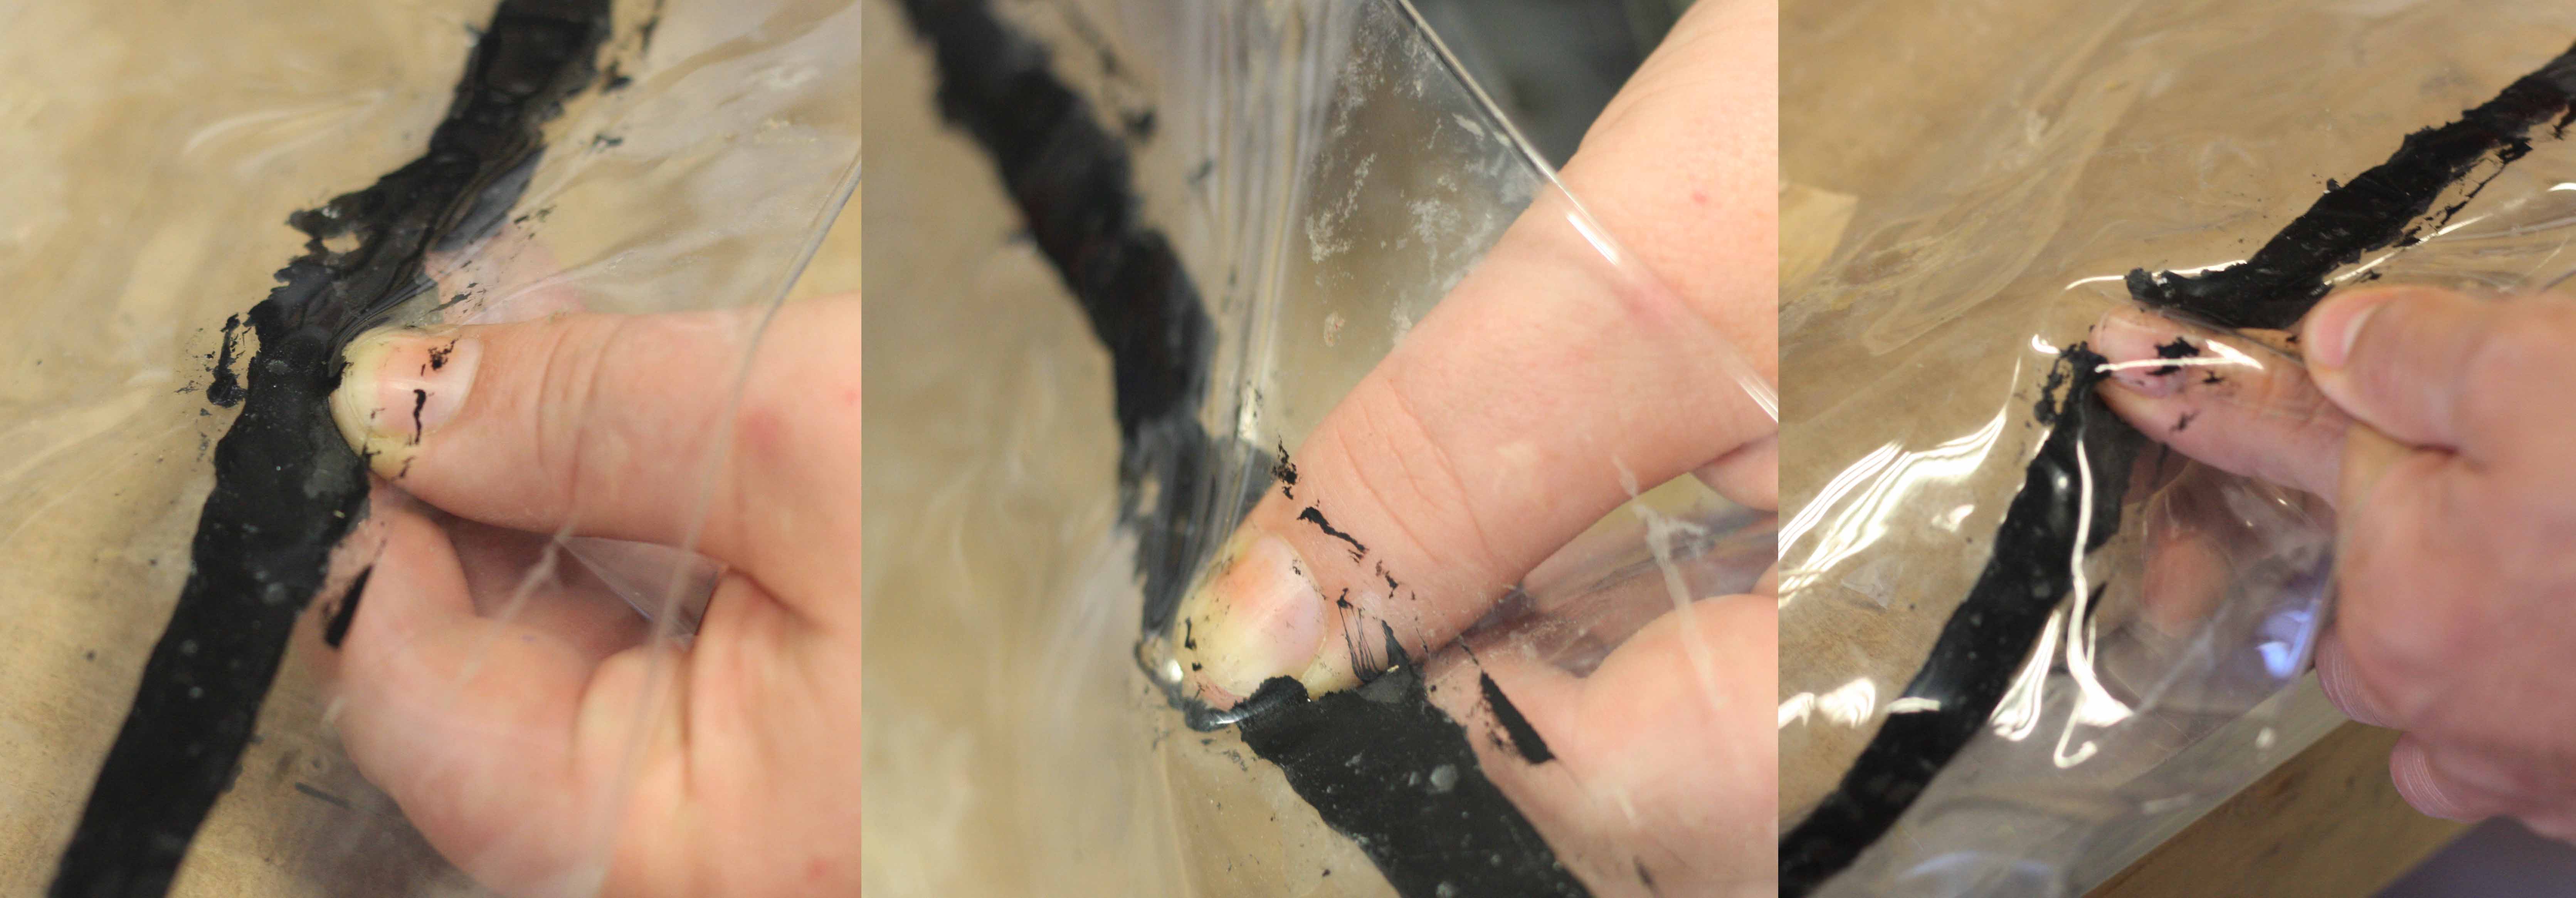
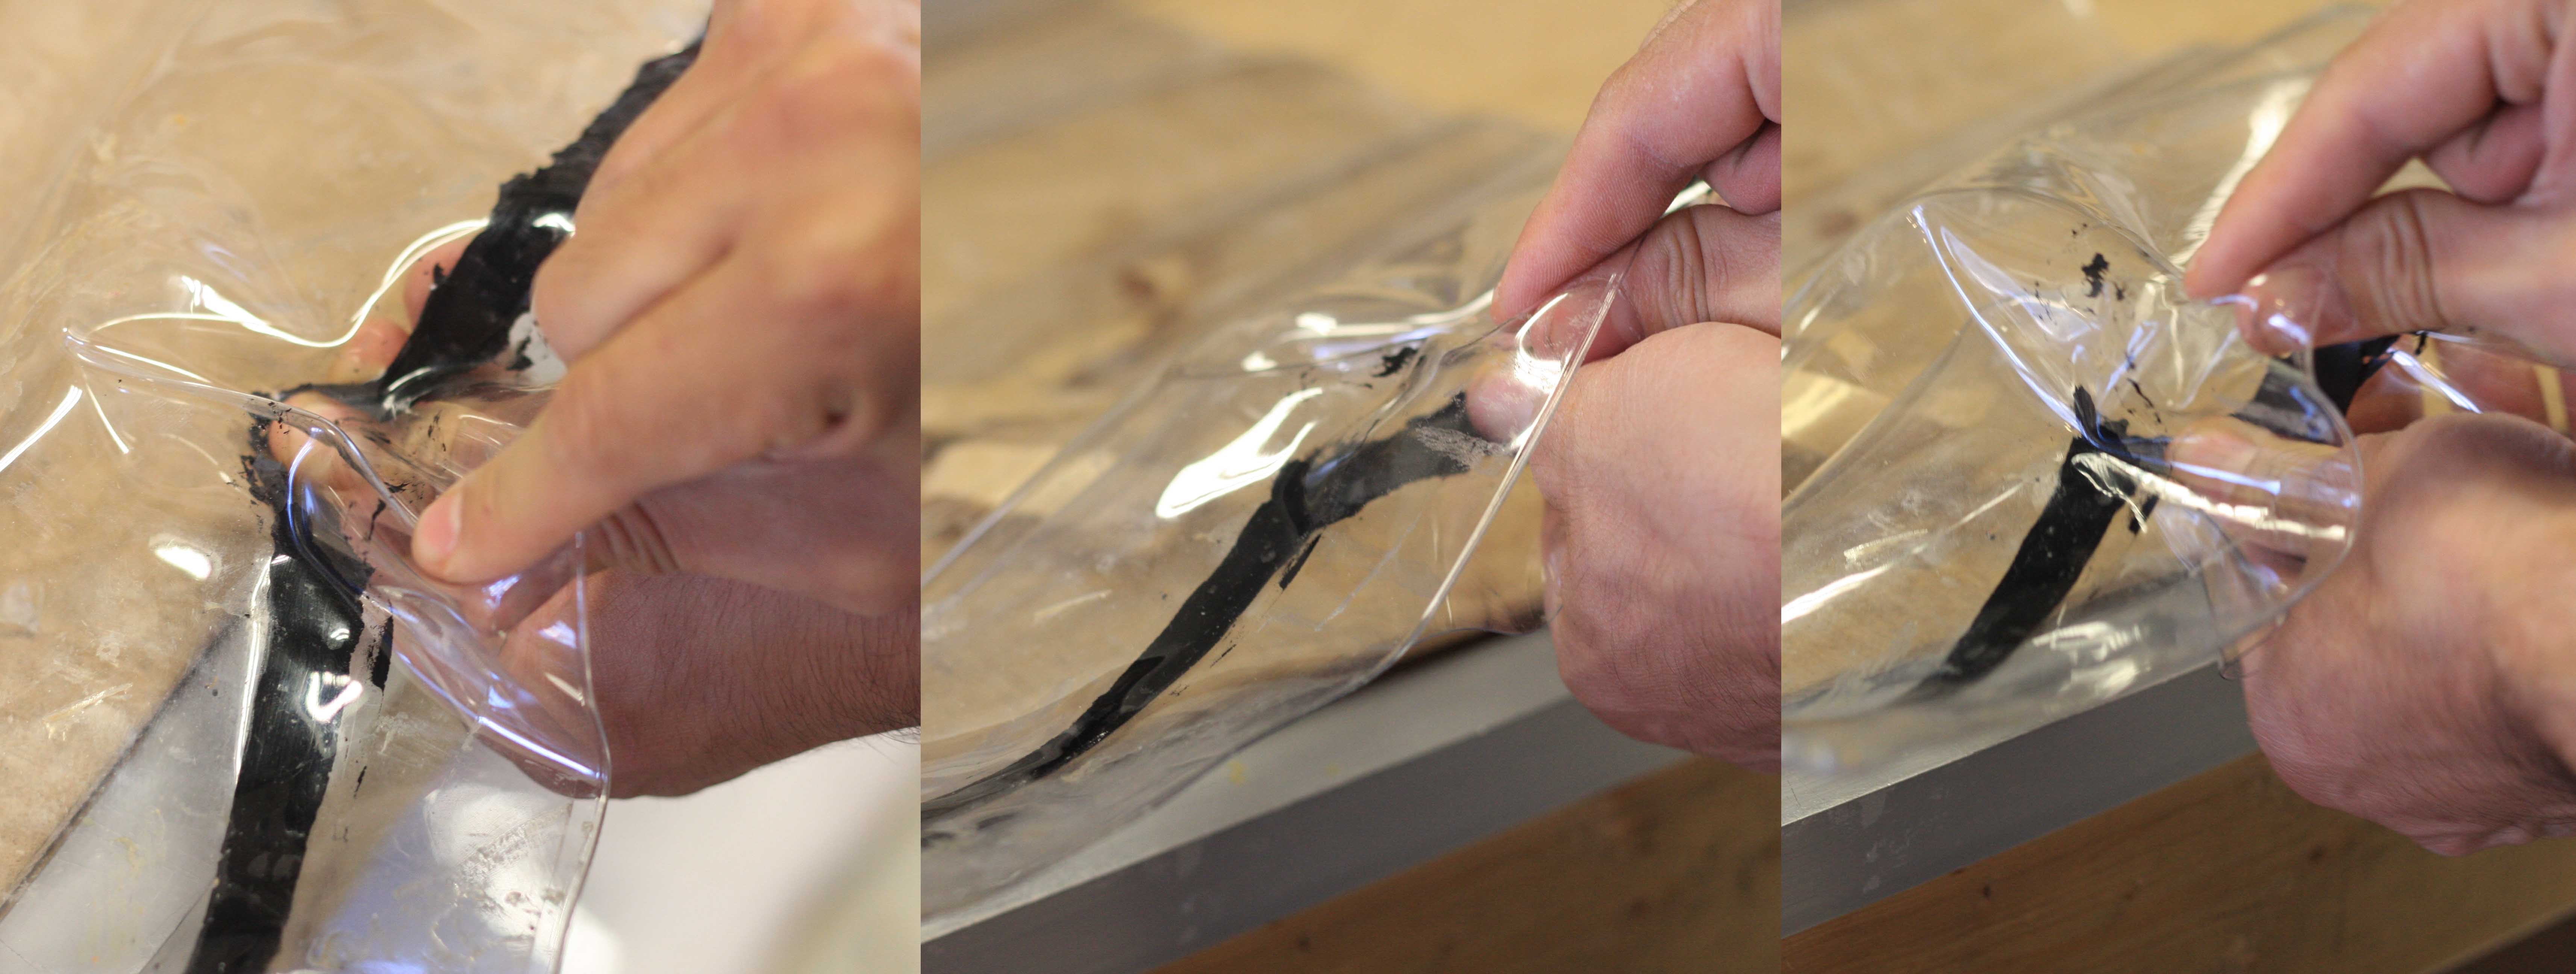
There is an art to opening the sealed end of your TAP bag. The Sealing Tape is designed to be extremely tacky to prevent air from leaking out, so it can take some force to get it reopened. Too much force, and you risk ripping the seams on the edge of your bag. When opening the bag, it is important to start in the middle of the sealed end and work your way out to the edges. You also want to do your best to keep the Sealing Tape on one side of the bag as opposed to breaking apart onto both sides.

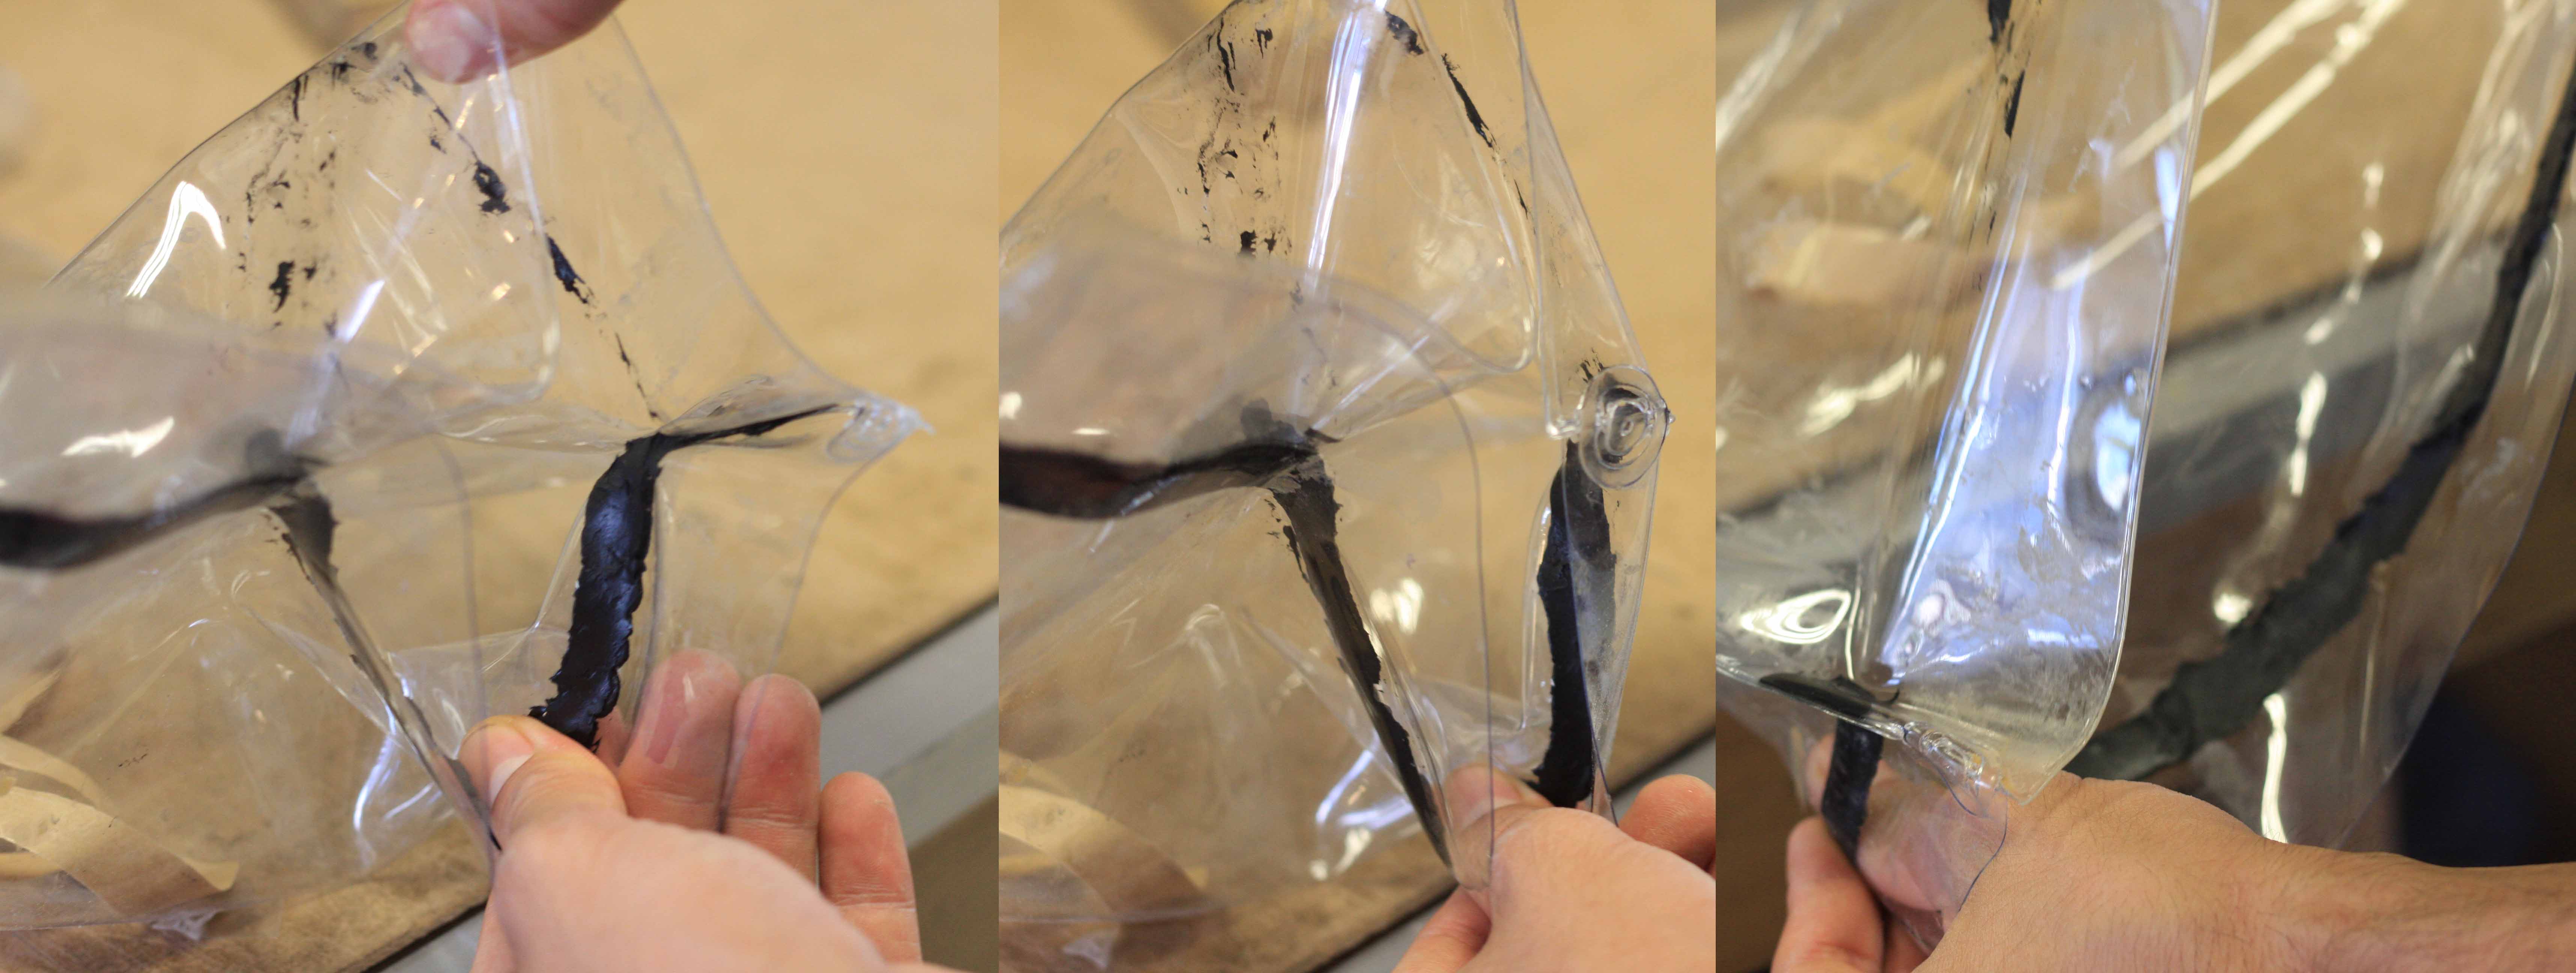
The best way to do this is to break the middle of the sealing tape length with your thumb, and work your way to the edges of the bag. Do your best to keep the Sealing Tape on one side of the vinyl, but if there is still some stuck to the other side it is okay.  

Below is another great way to open up the sealed end of your TAP bag using a marker! This method was developed by one of the students from the Oasis Skateboard Factory and has been passed along to other students and builders. 

Monday
Oct272014

Breather Netting Tips

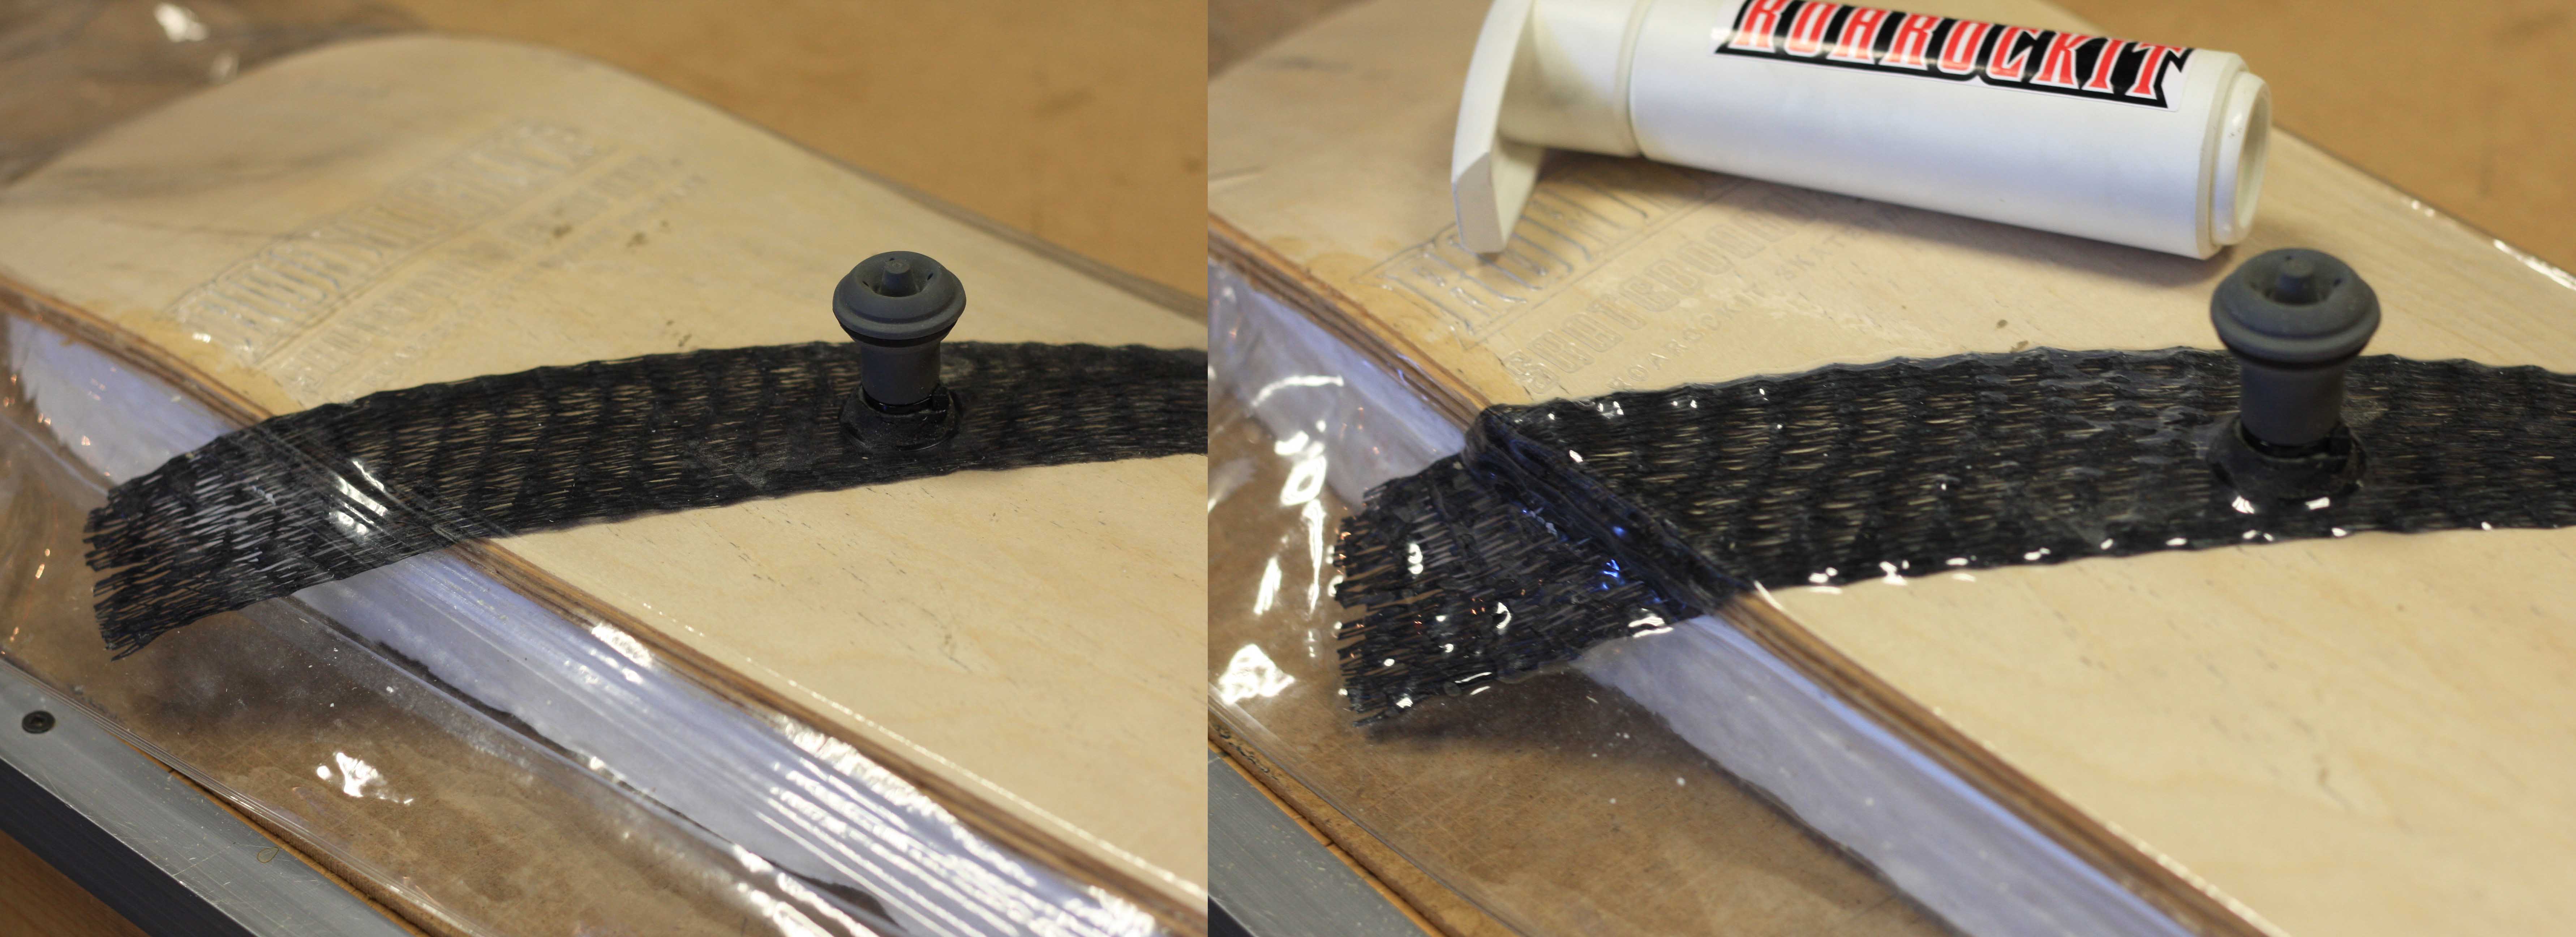
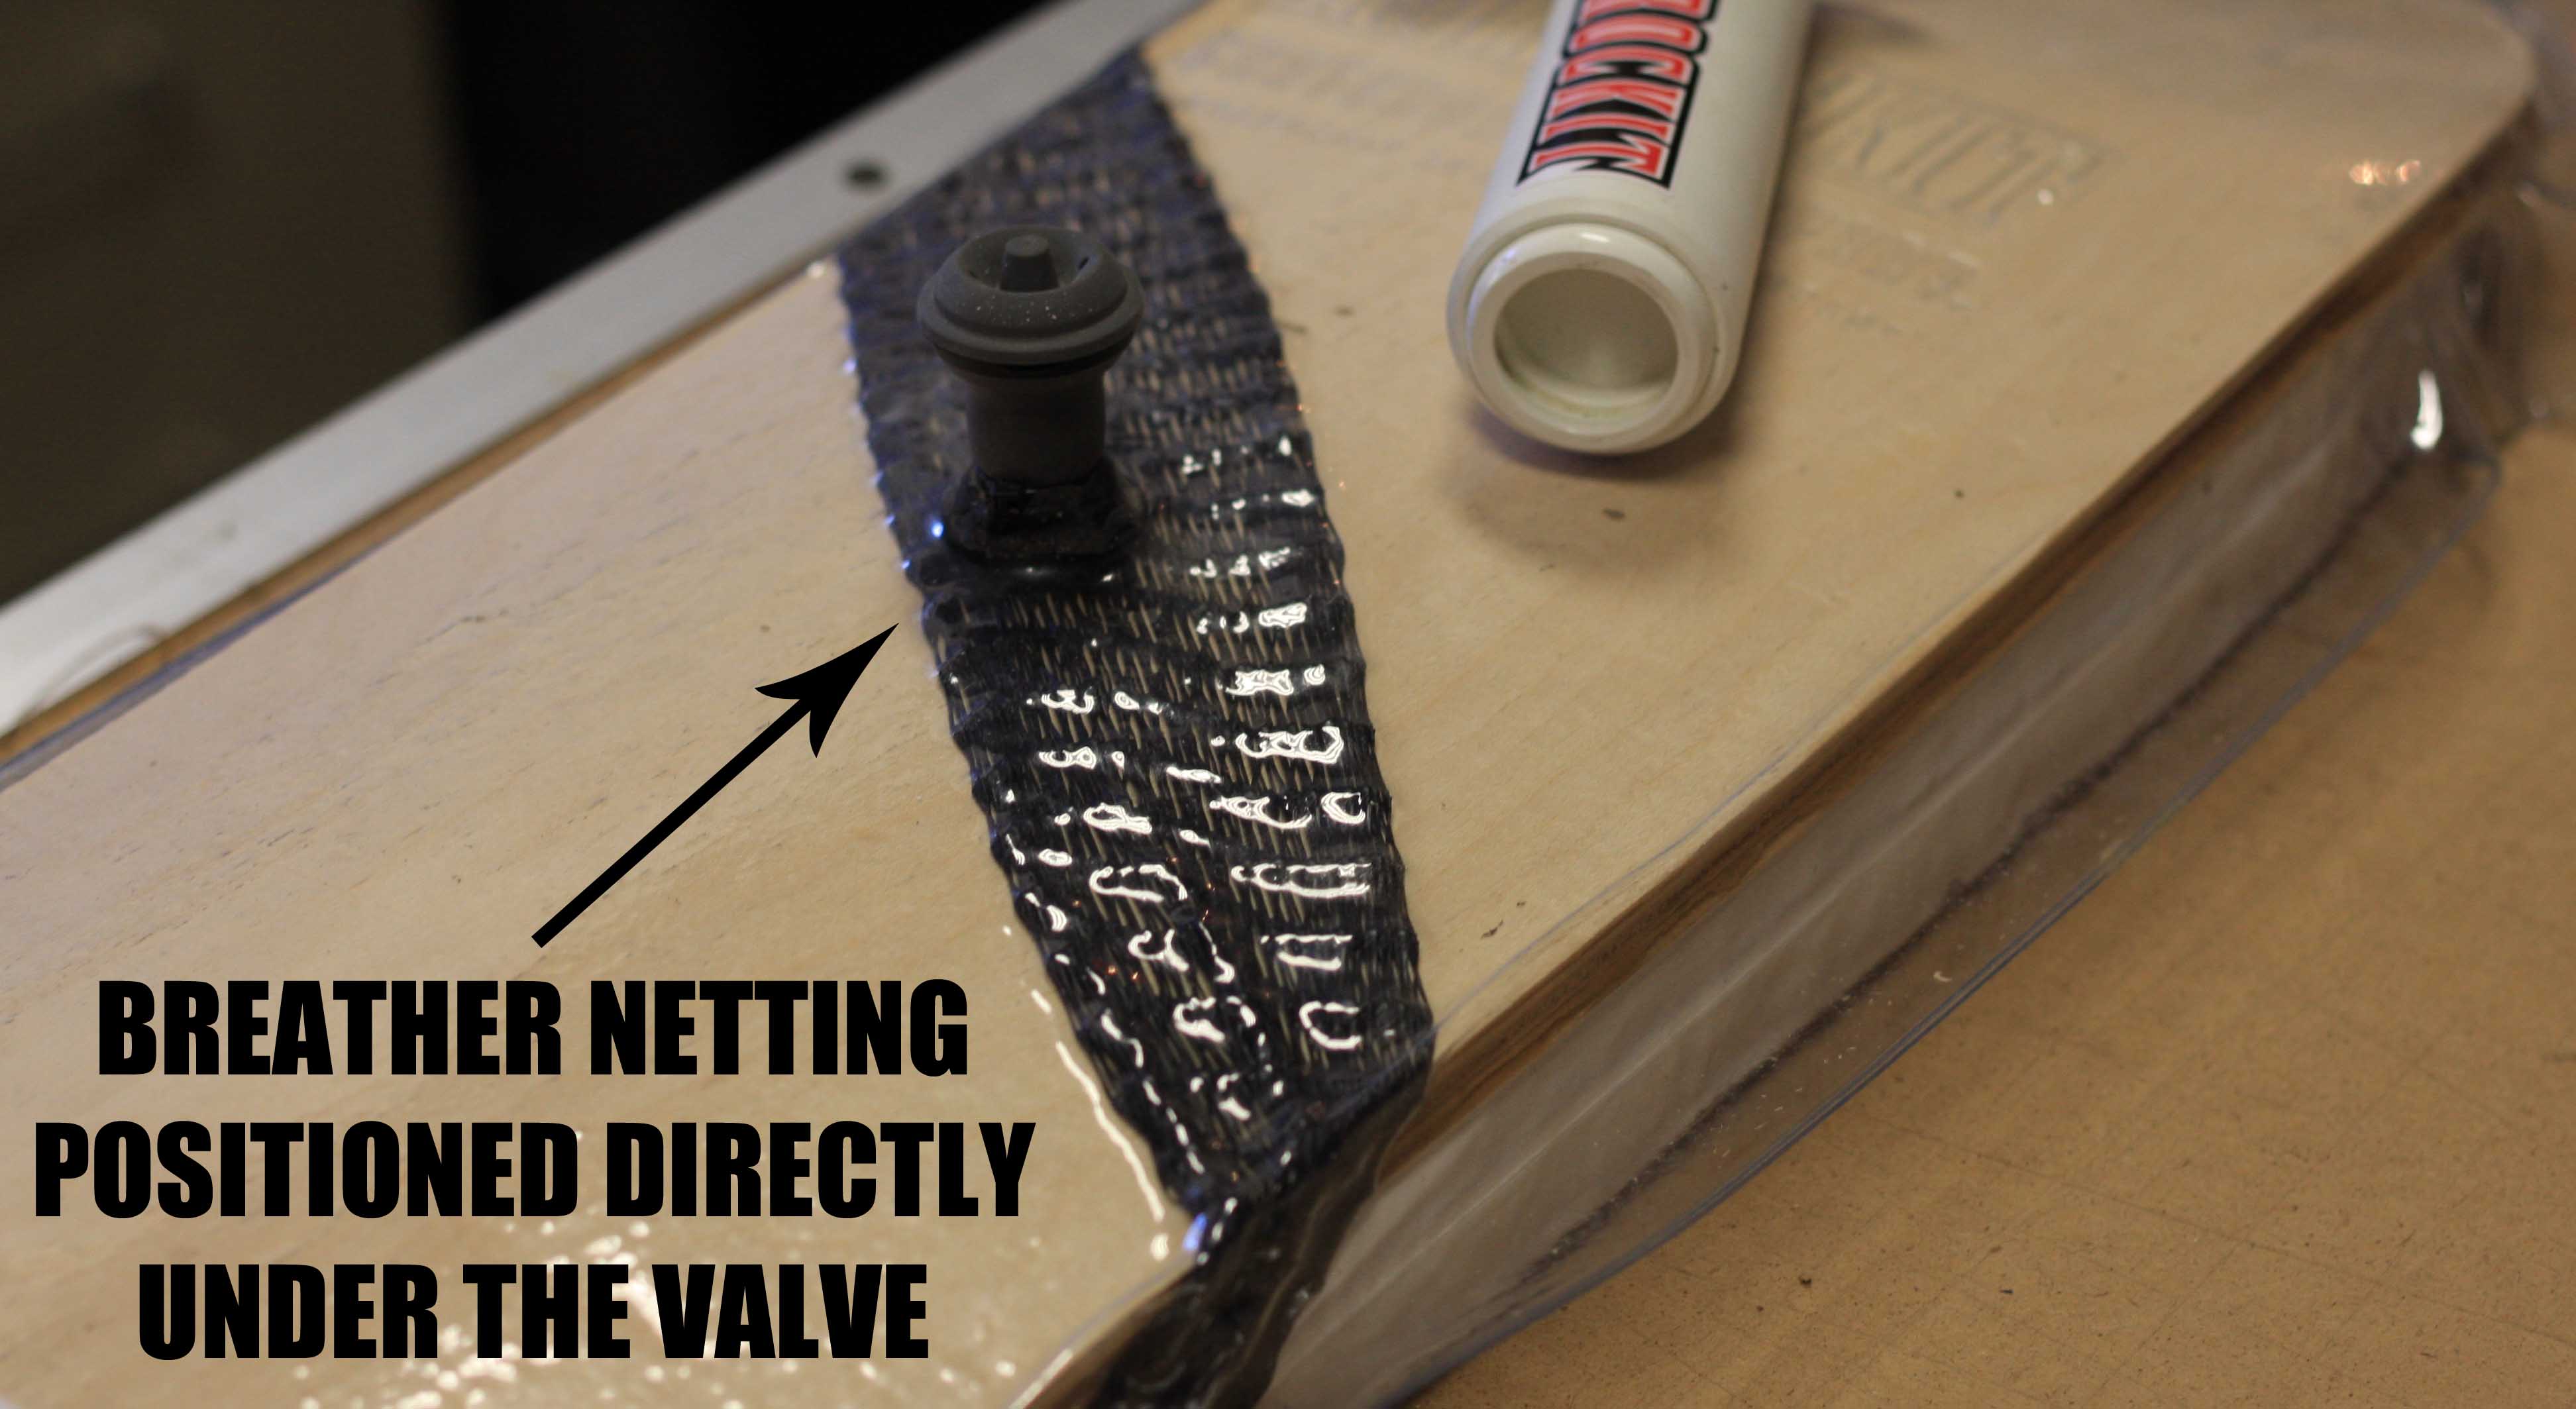
The length of Breather Netting provided with the Thin Air Press vacuum bag is used to prevent the valve from sticking directly to your project, and allows for even evacuation of air when using the hand pump. Without it, the opening on the inside of your grey valve where air is drawn out of will get blocked by your project and will prevent the pump from pulling out any air from the bag. Extending the length of breather netting to the far ends of your bag will also help make sure all air is drawn out easily.

Depending on the kit, you will usually get either 4' or 6' of netting, which is more than enough for any project. Once your project is inside the bag, place your Breather Netting directly under the valve.

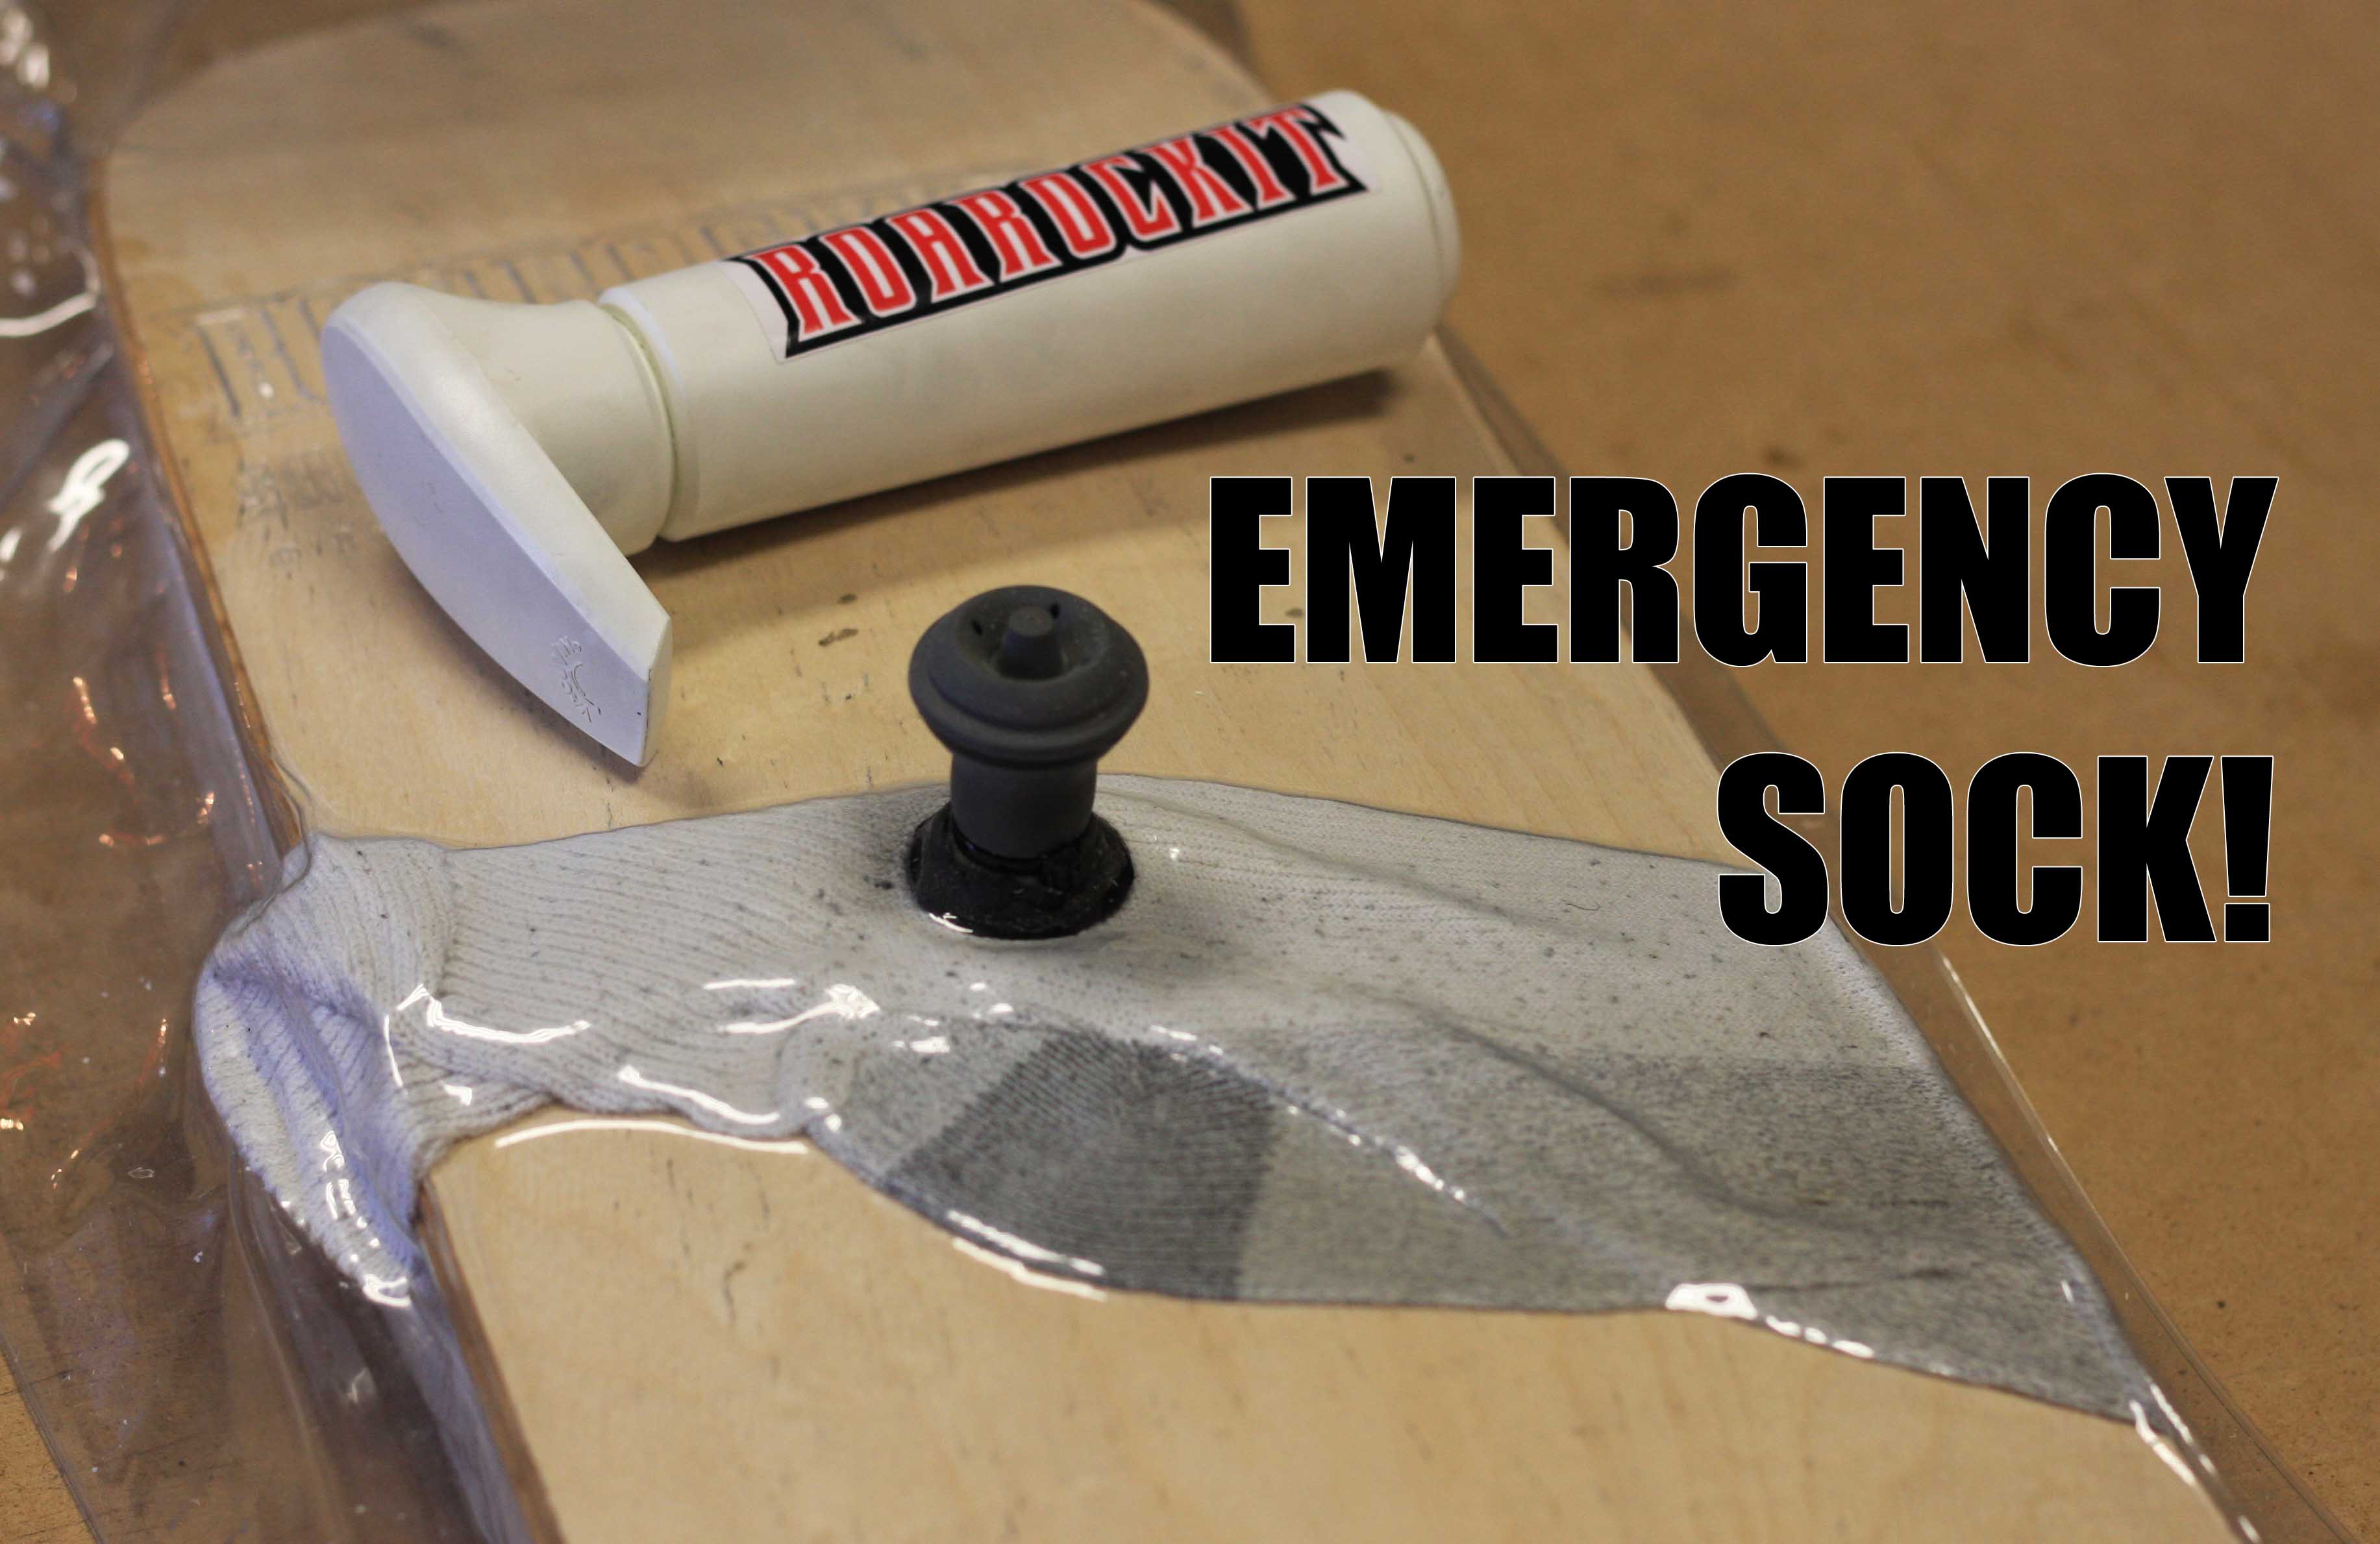
The job that the Breather Netting does can be achieved with different materials in a pinch. If you cannot find your length of netting while pressing up a project, you can use something porous like a cloth or even a sock to help the air evenly evacuate. 

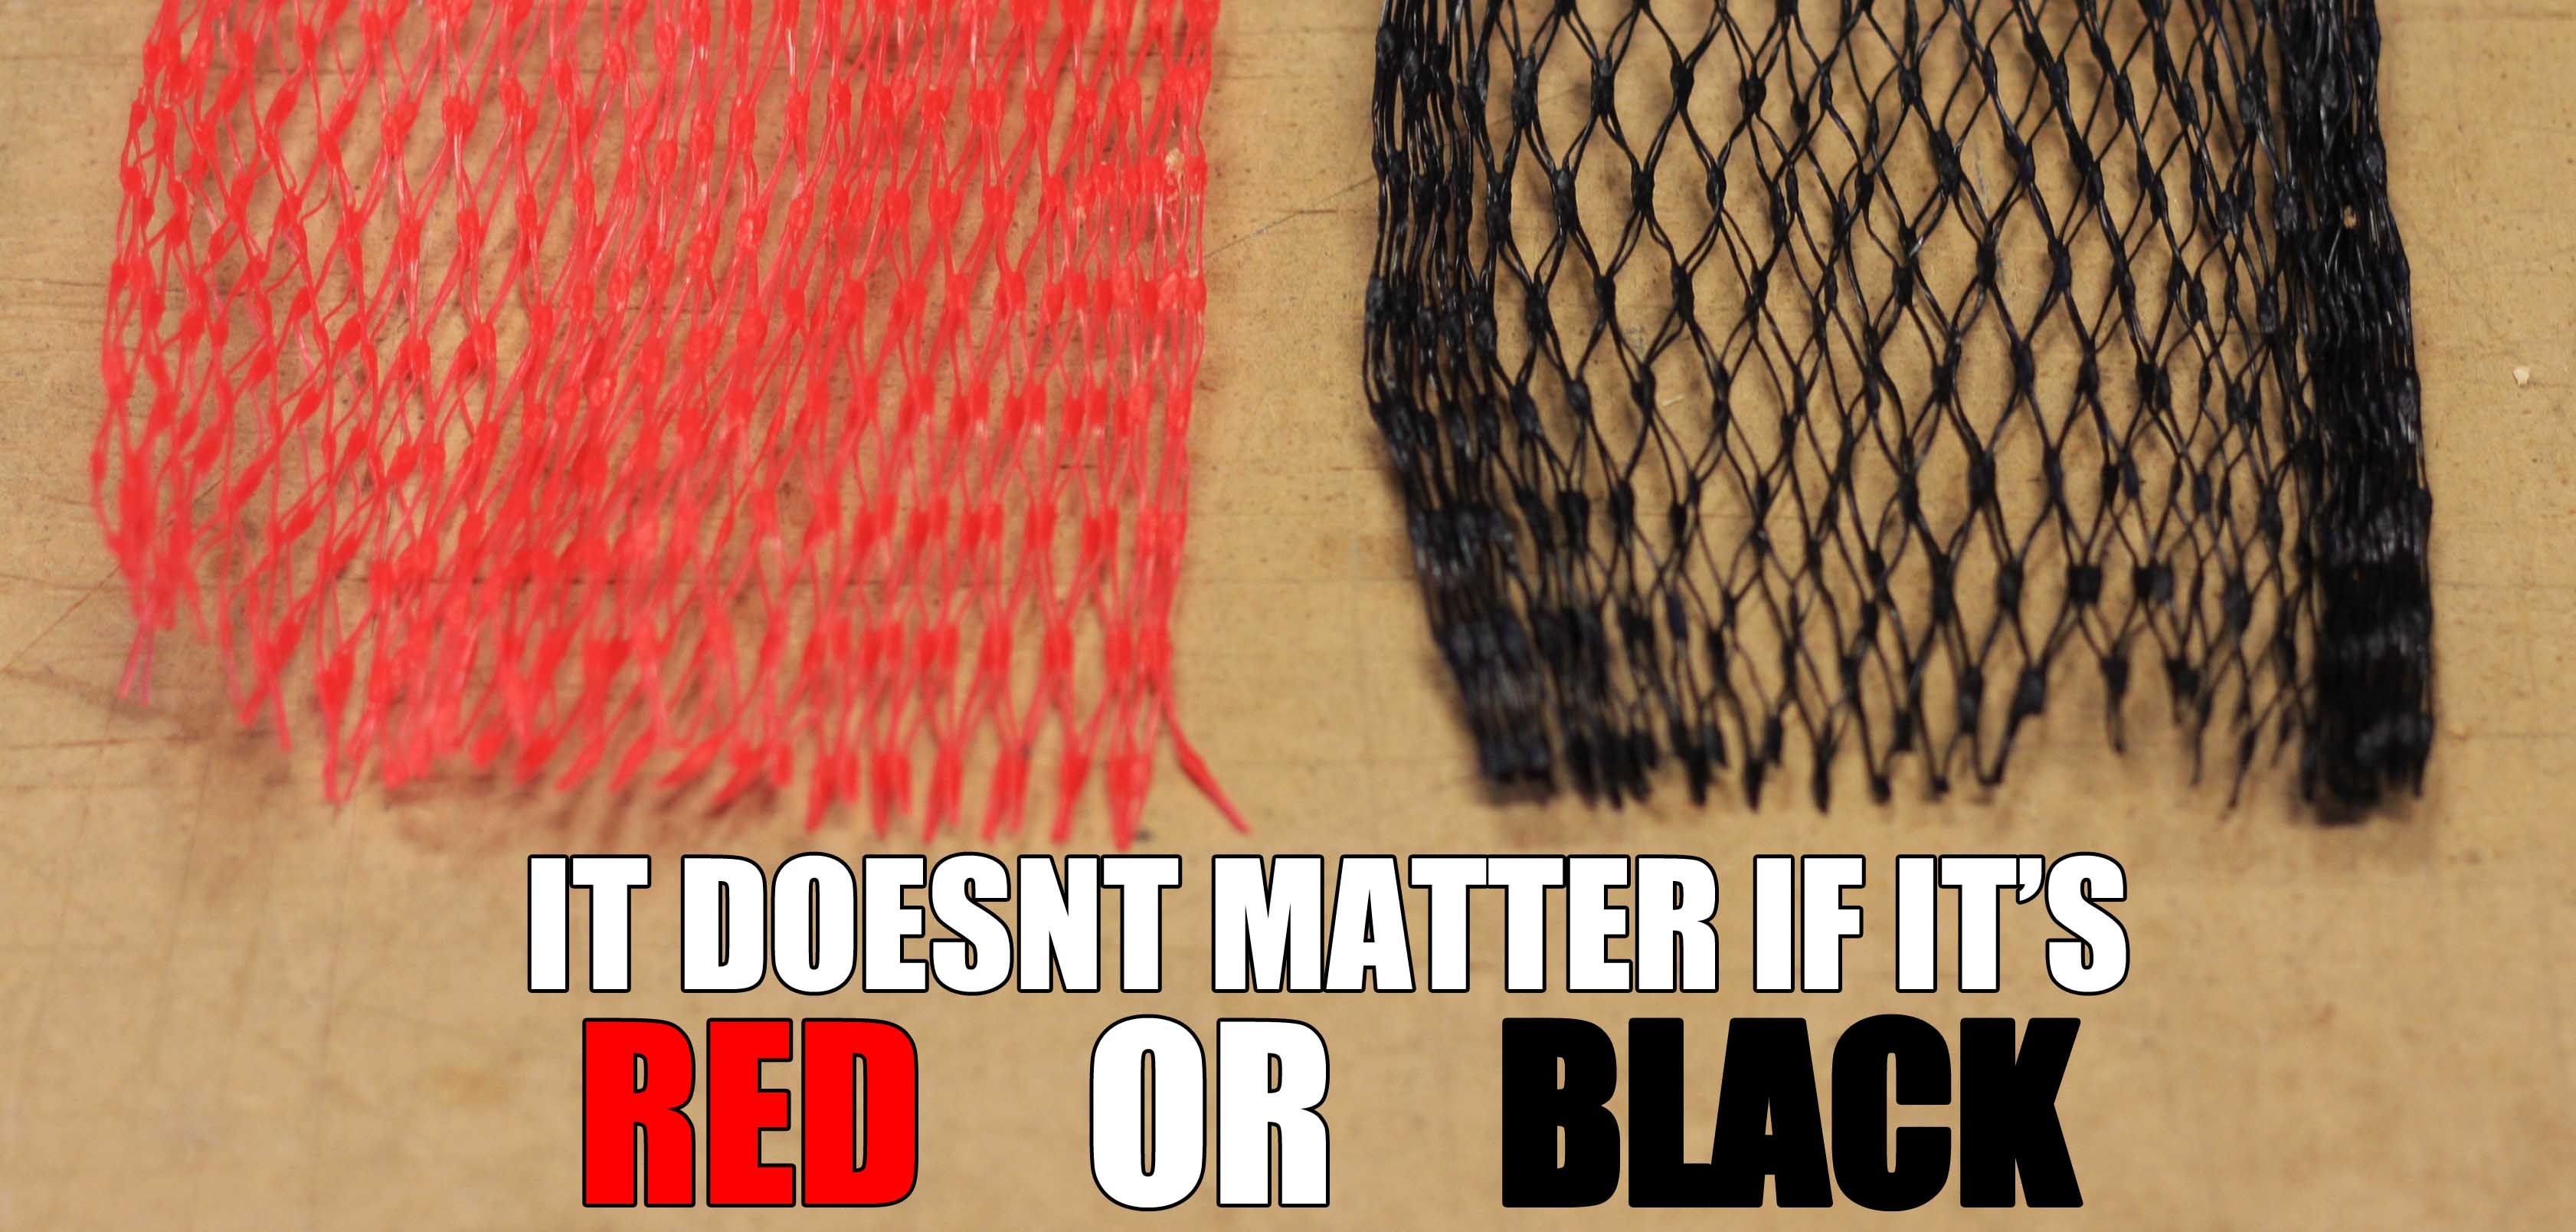
Many builders over the years have also asked us about the difference between the Red and Black netting we supply. Truth be told, it is the exact same stuff. So don't be concerned about receiving a different colour length than you may have worked with in the past.. we just like to change things up every once in a while ;)

Thursday
Oct162014

Clamping Tips

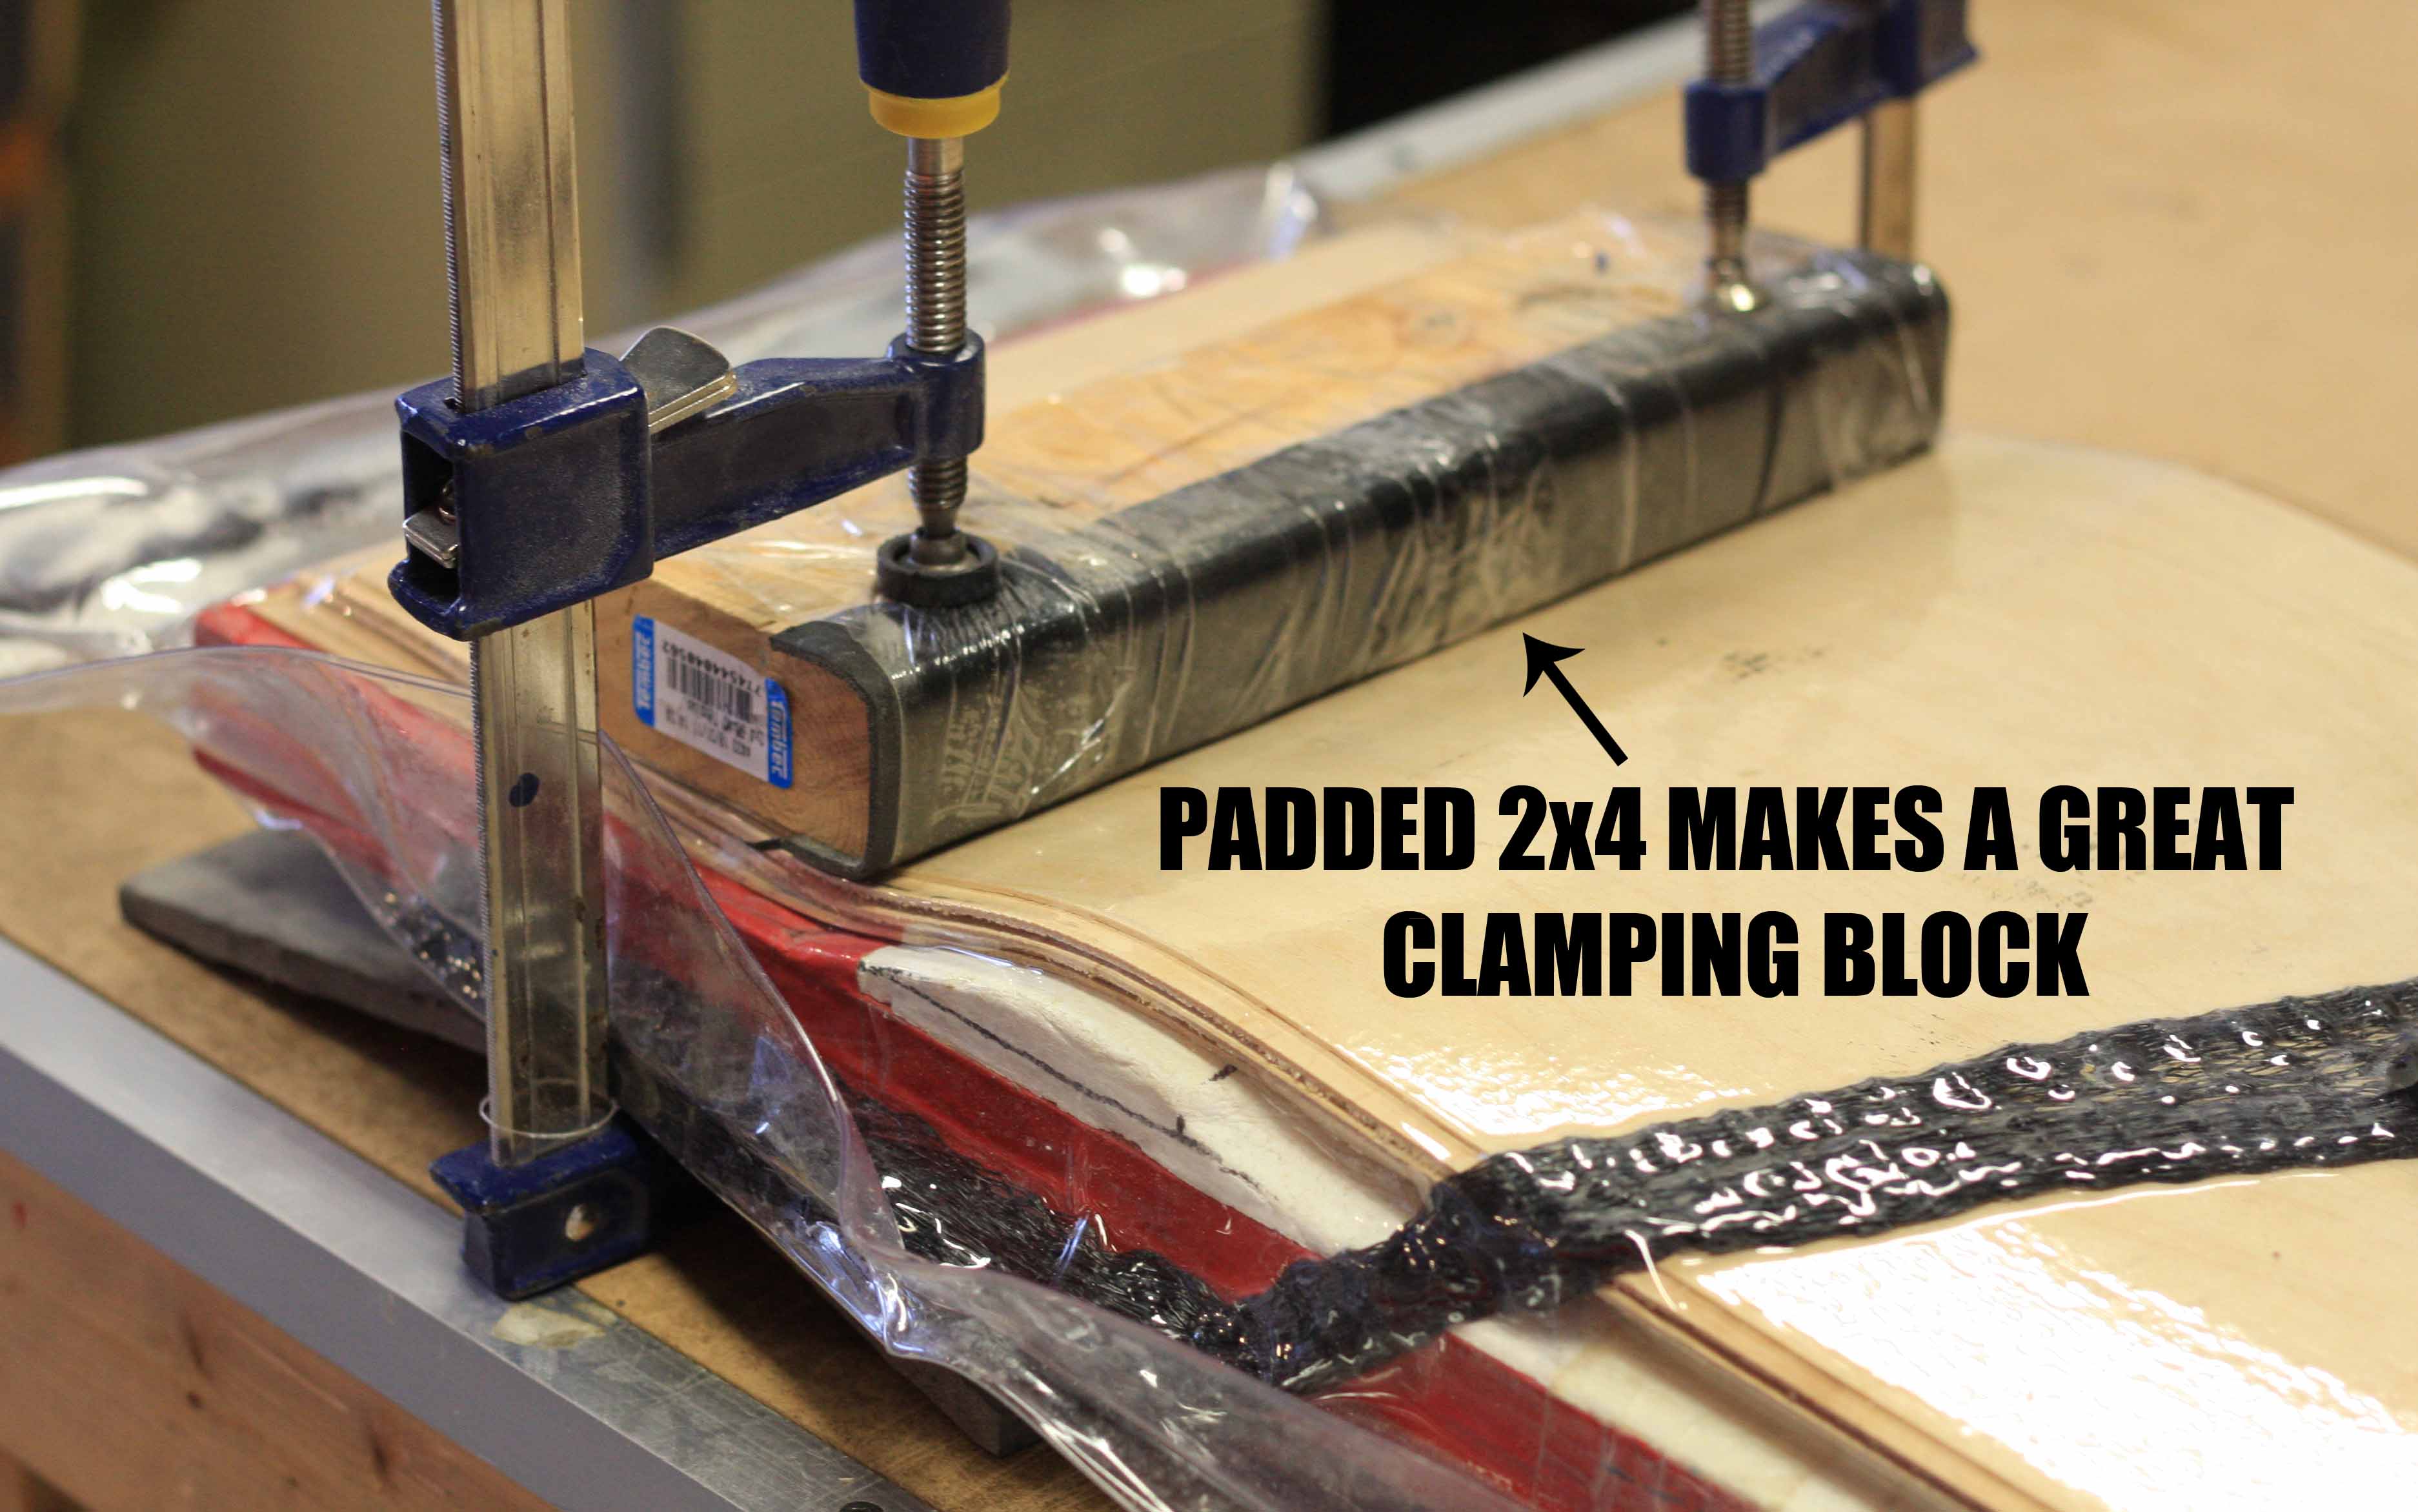
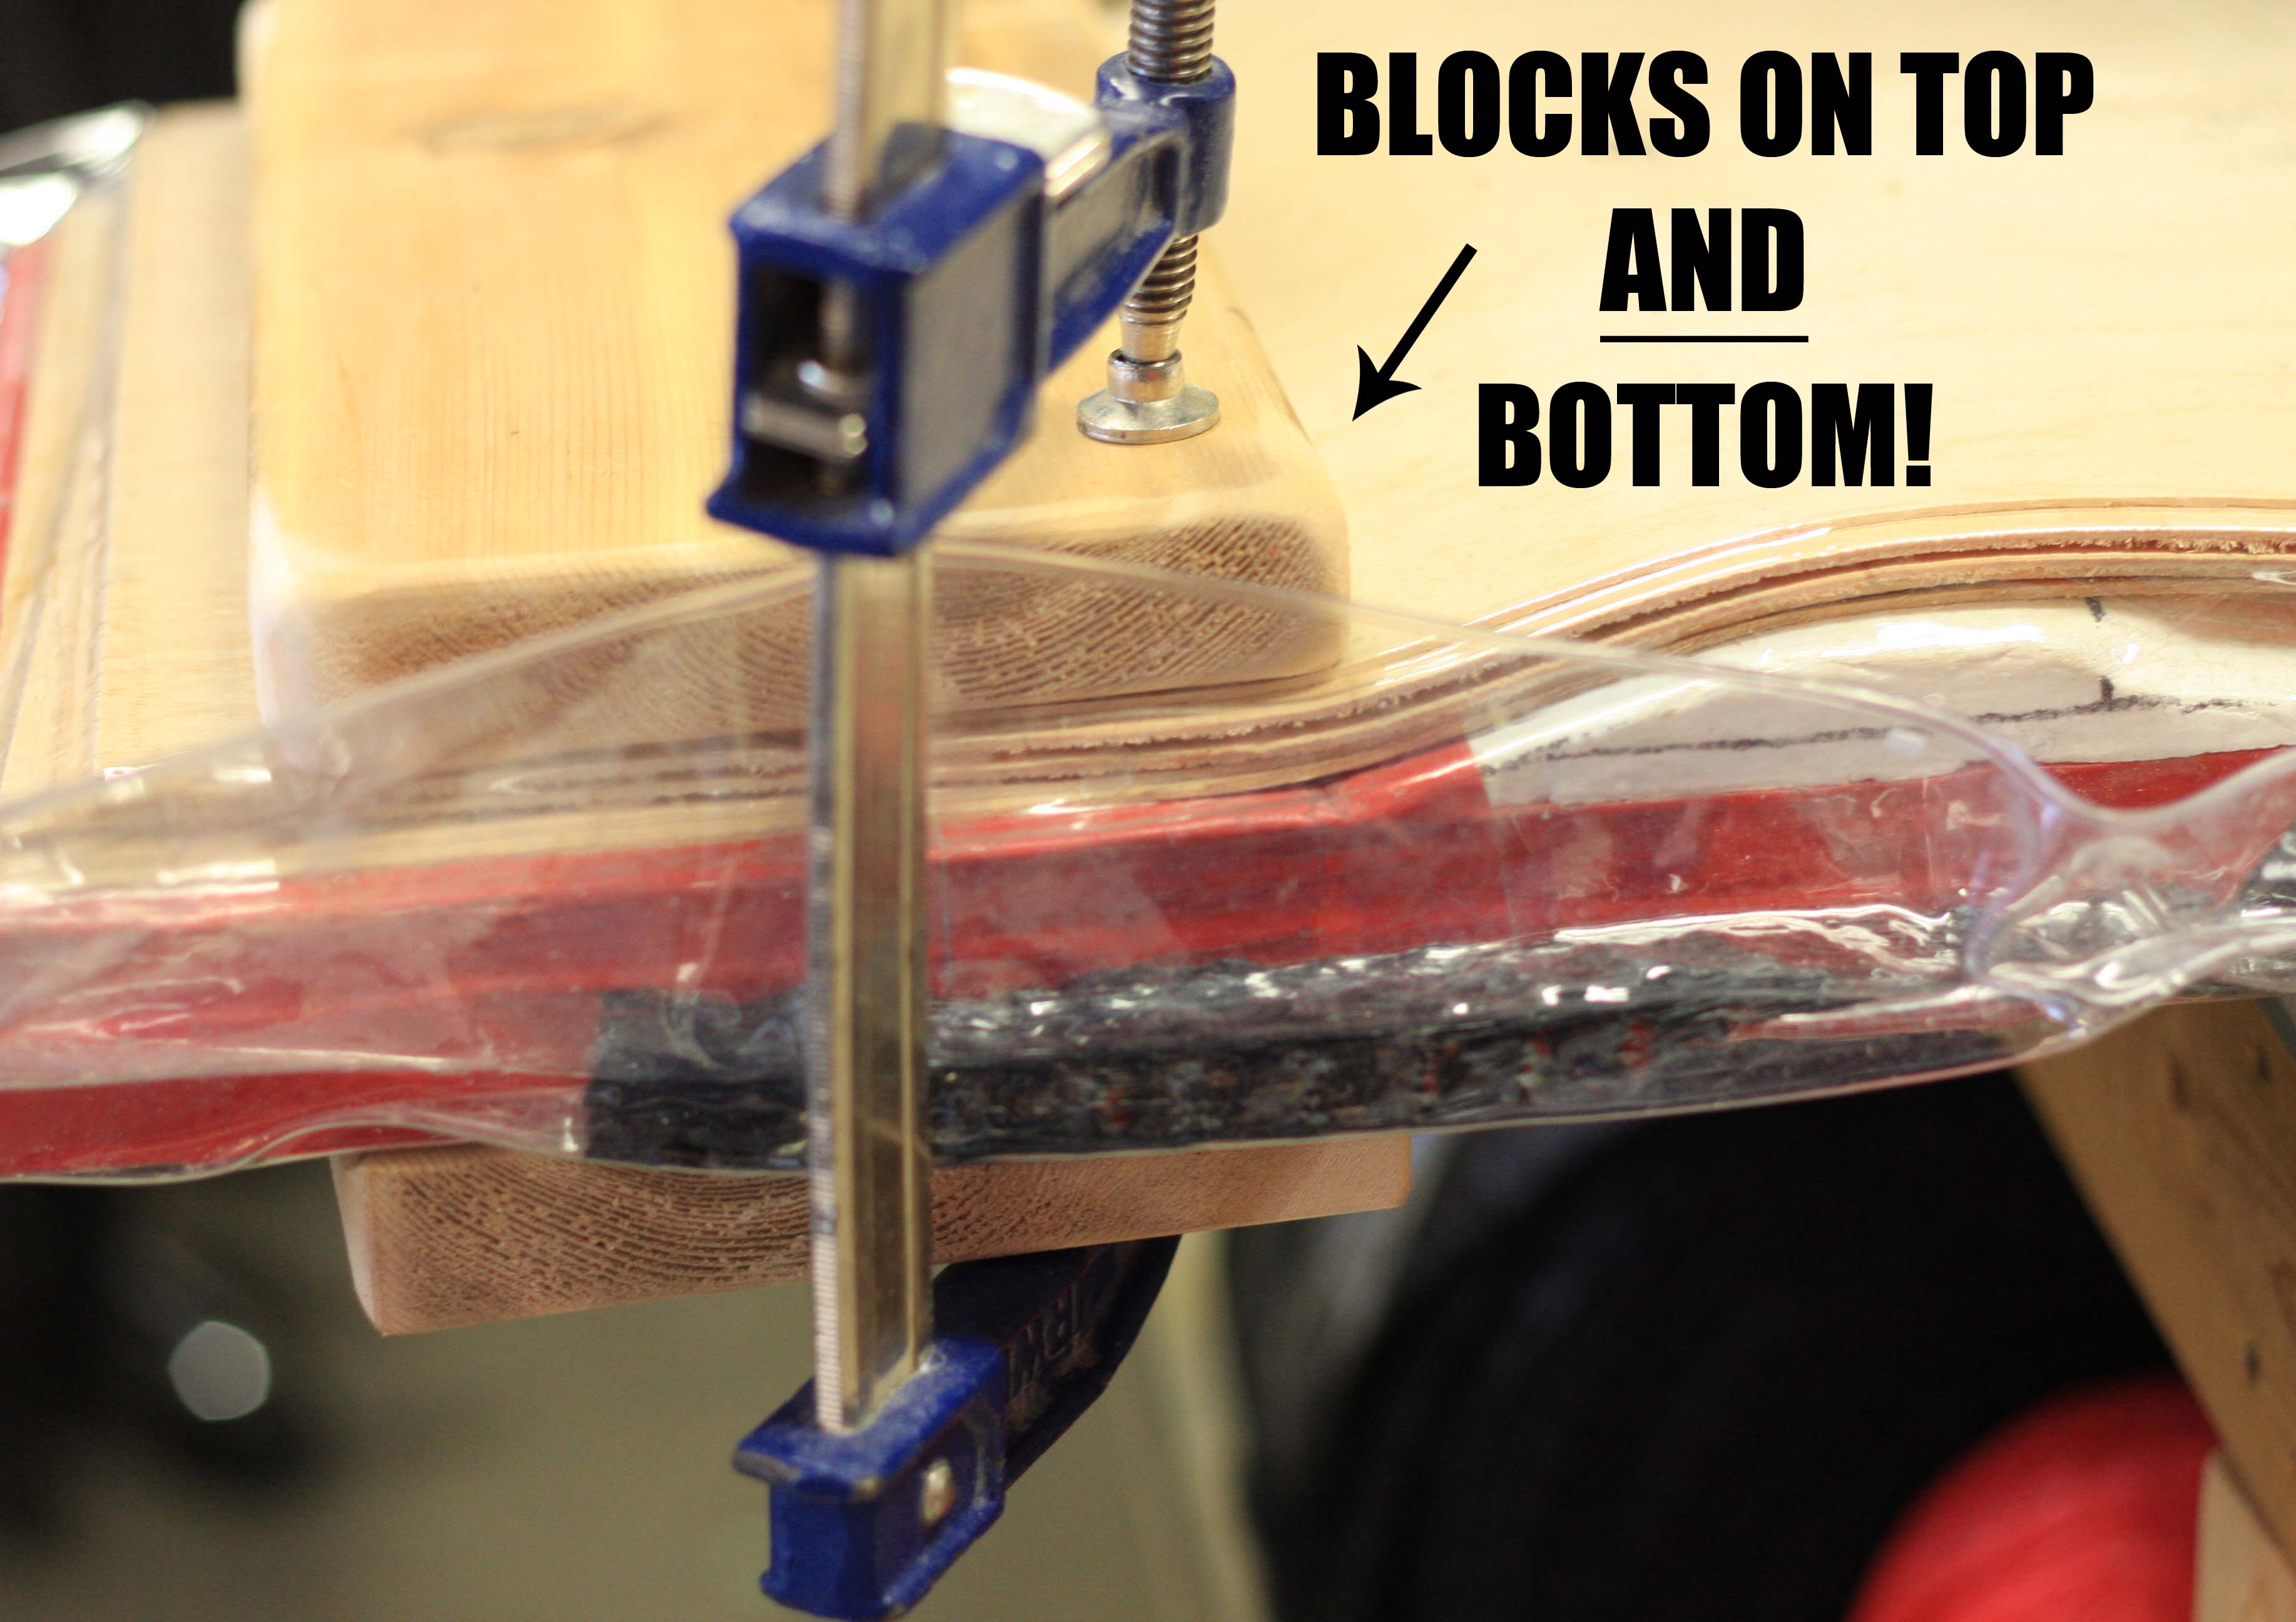
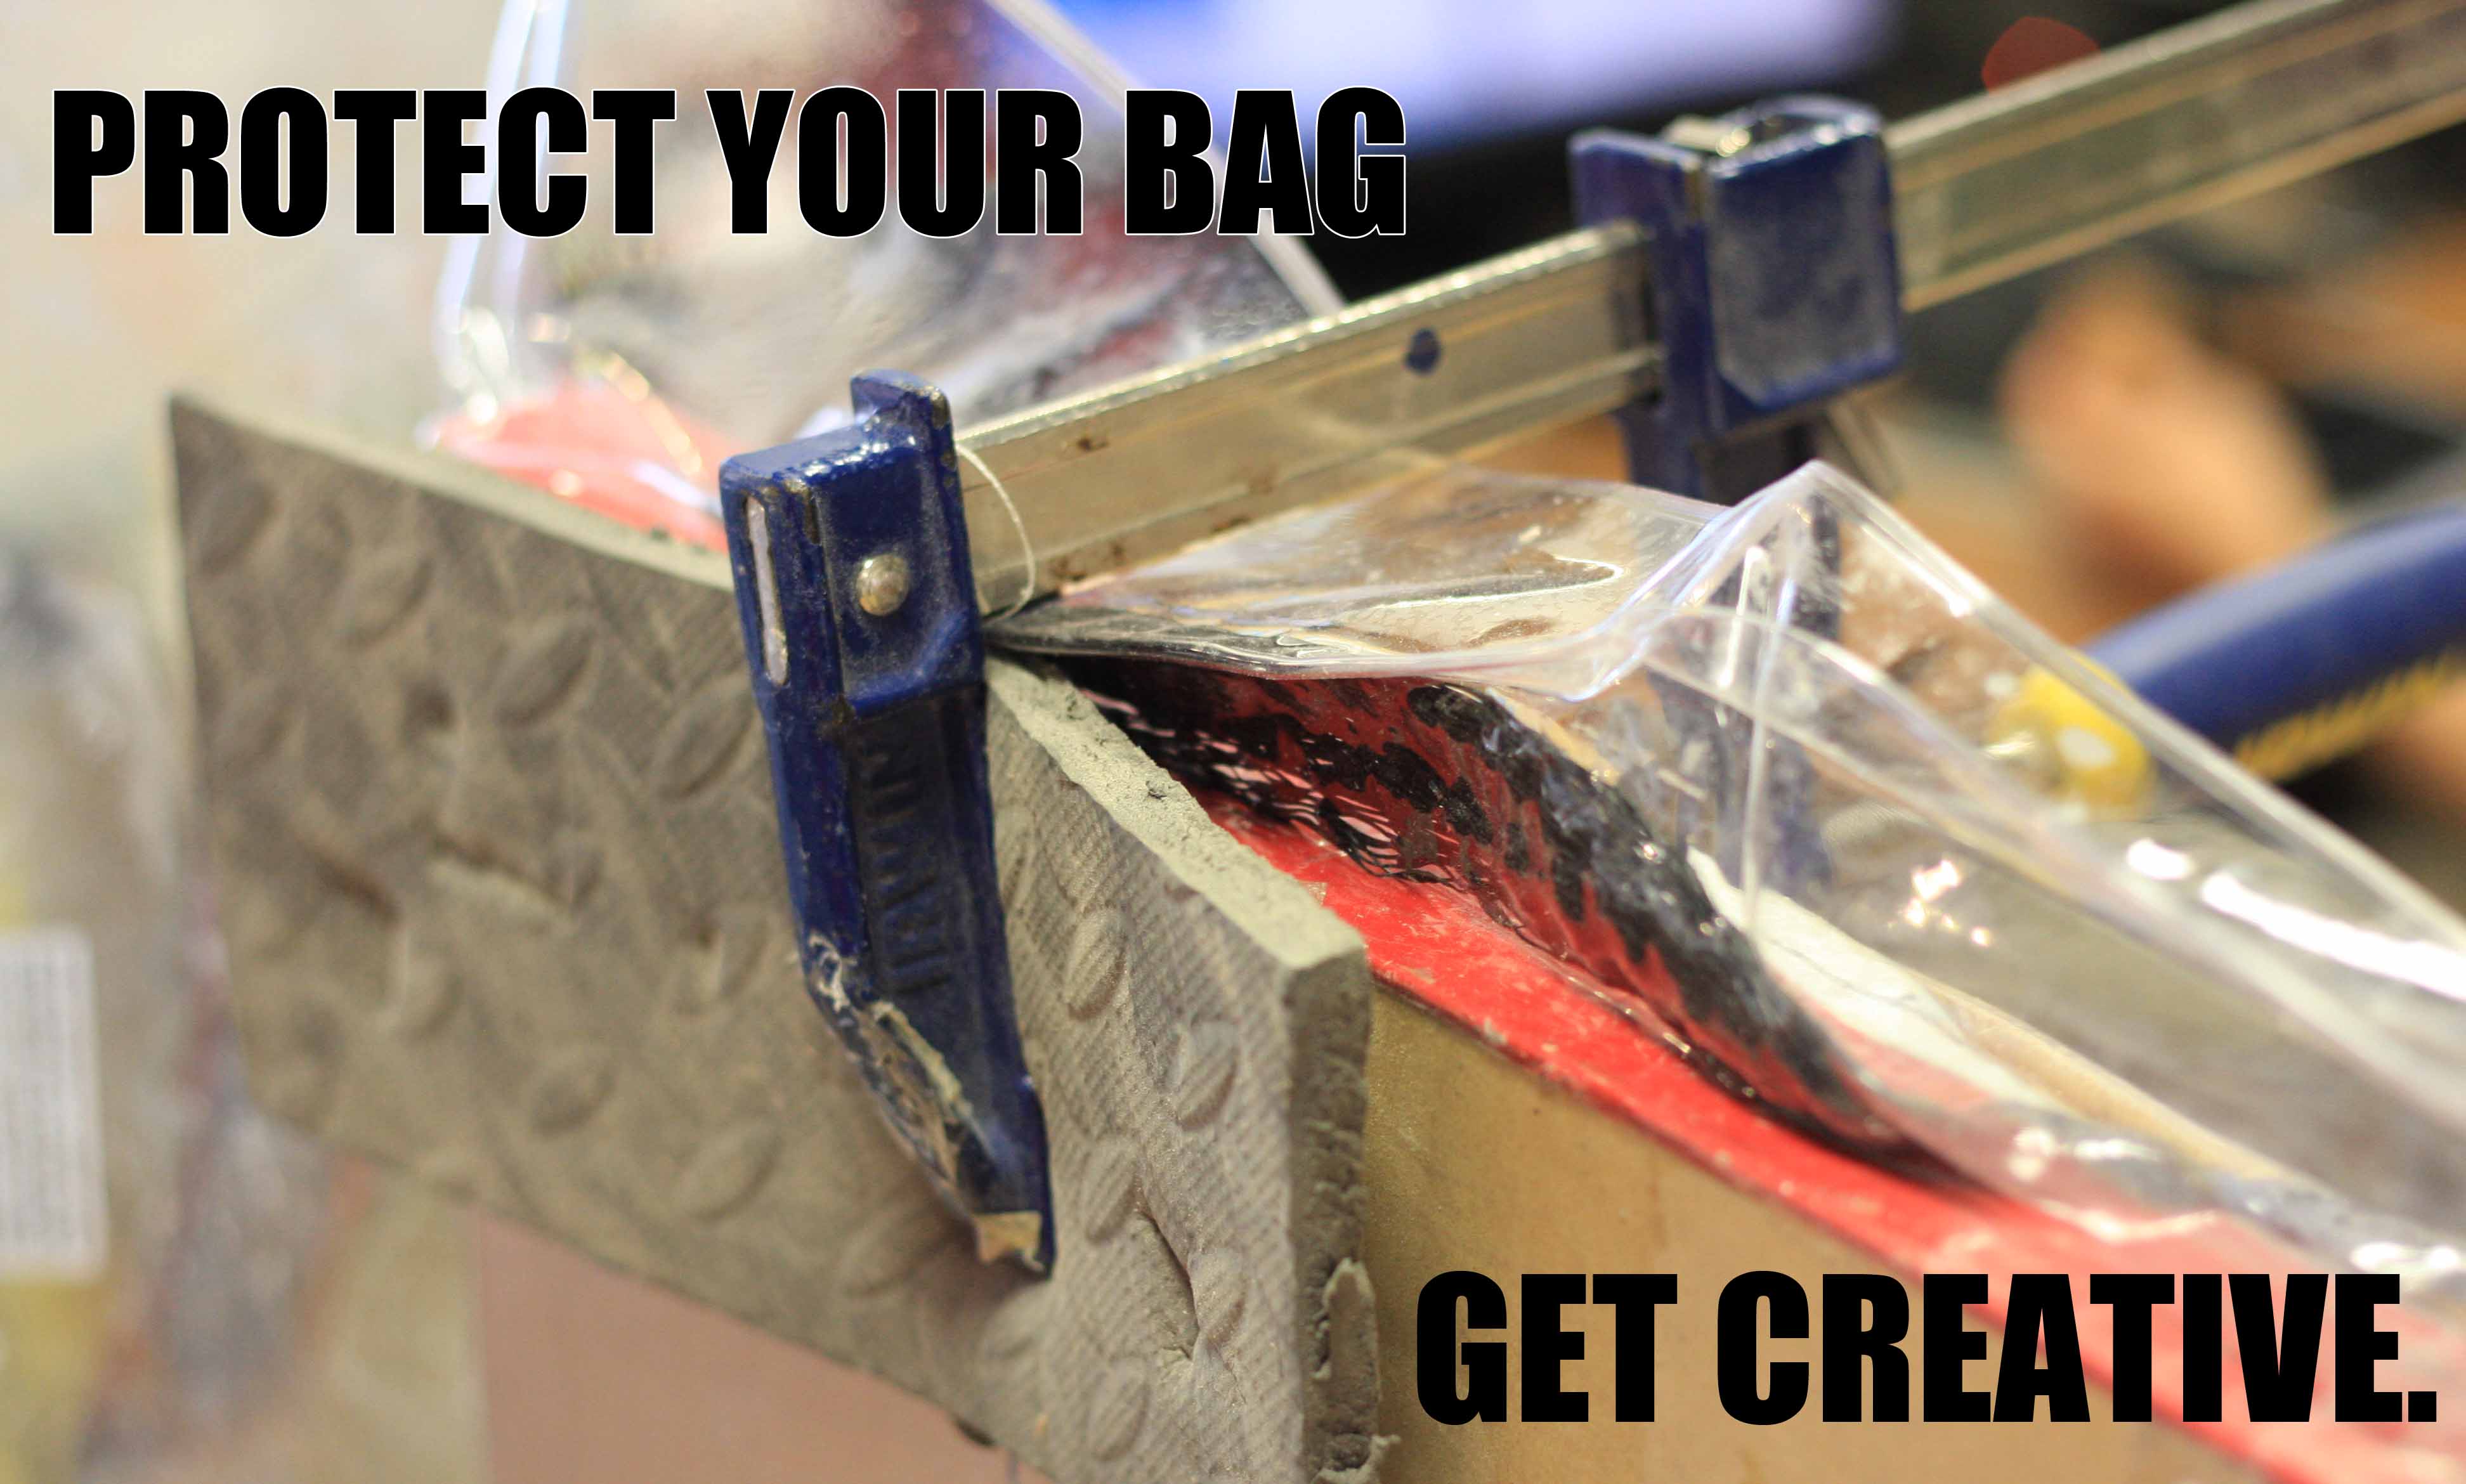
If you plan on using any external clamps for a project in your Thin Air Press bag, make sure to use rounded or padded blocks in between the clamp and the vinyl of your bag. This helps prevent the metal clamp ends from damaging your bag or putting unneccessary stress any one spot. 

A great example of this is the common practice of using clamps to help achieve a super tight bend in a drop deck. By applying clamps to a block that runs along the apex of your drop bend, it can really help ensure a strong lamination in these areas. 

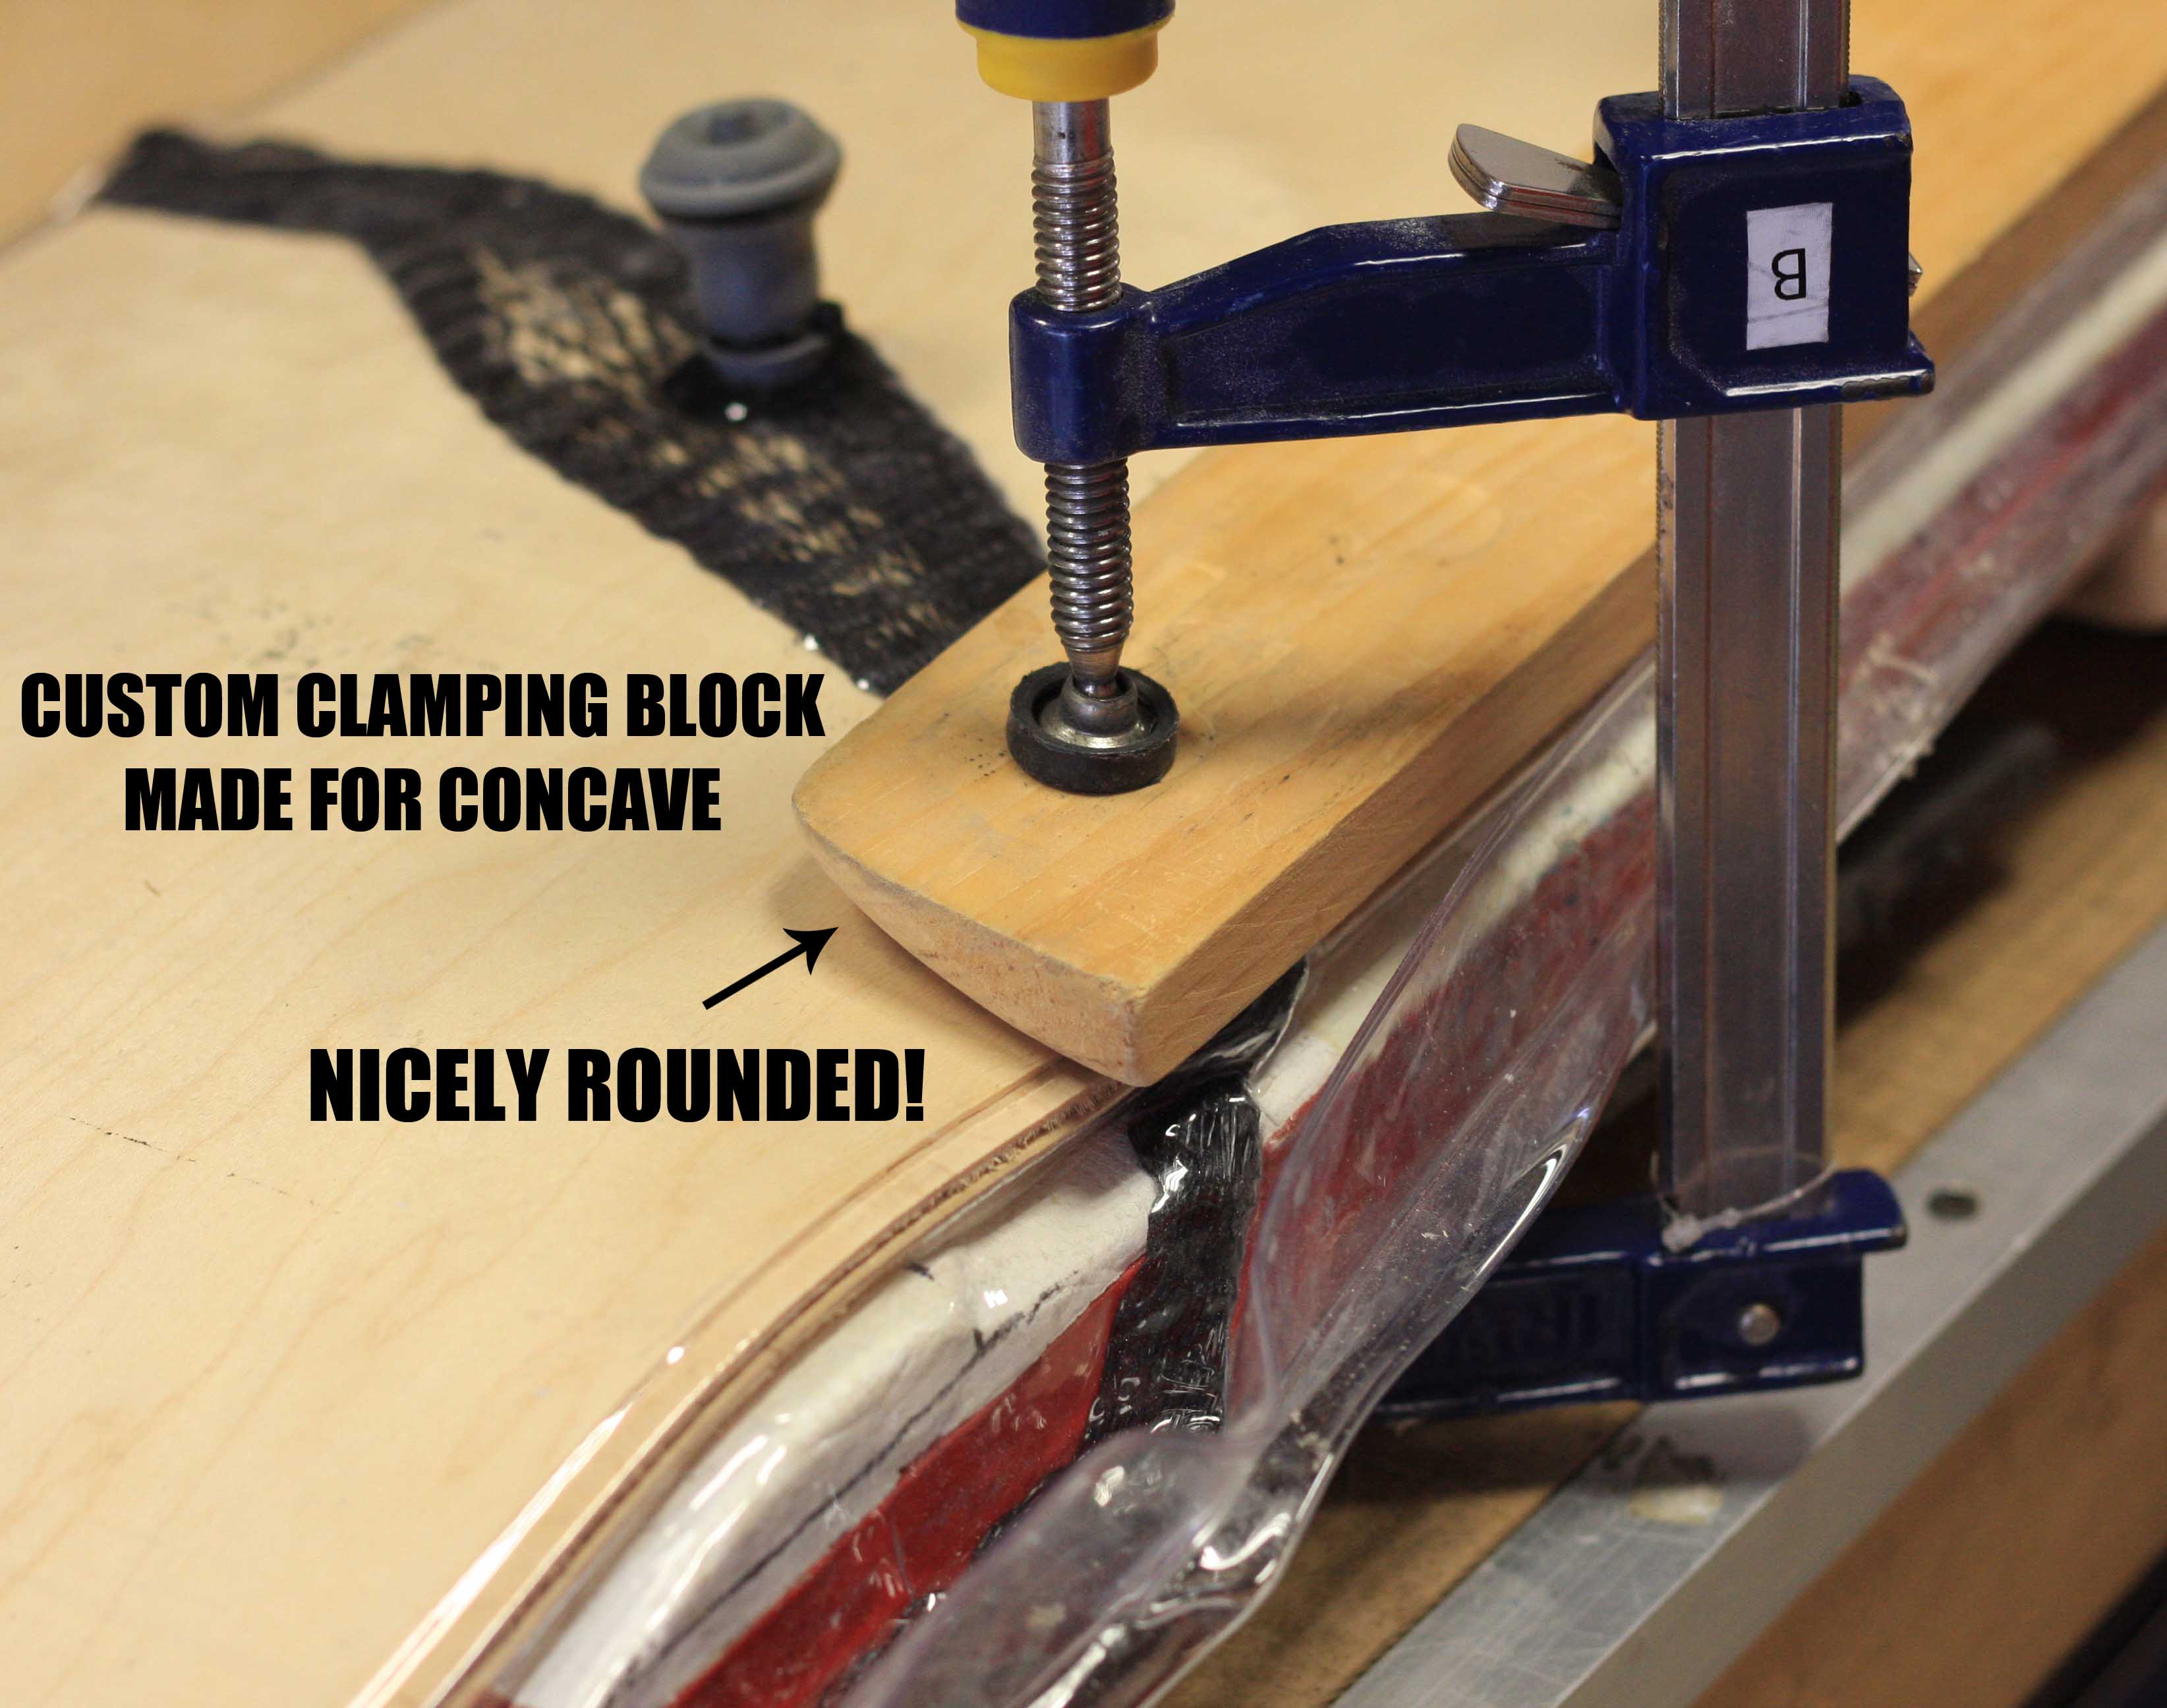
Notice how the blocks are placed on the outside of the bag with only the nicely rounded edges making contact with the bag. This will help prevent unnecessary force being applied directly to the bag itself.

You can make blocks like this using a variety of materials. Anything that will provide some relief between the metal and vinyl should help prevent your bag from getting damaged. 

This method can also help with bending concave