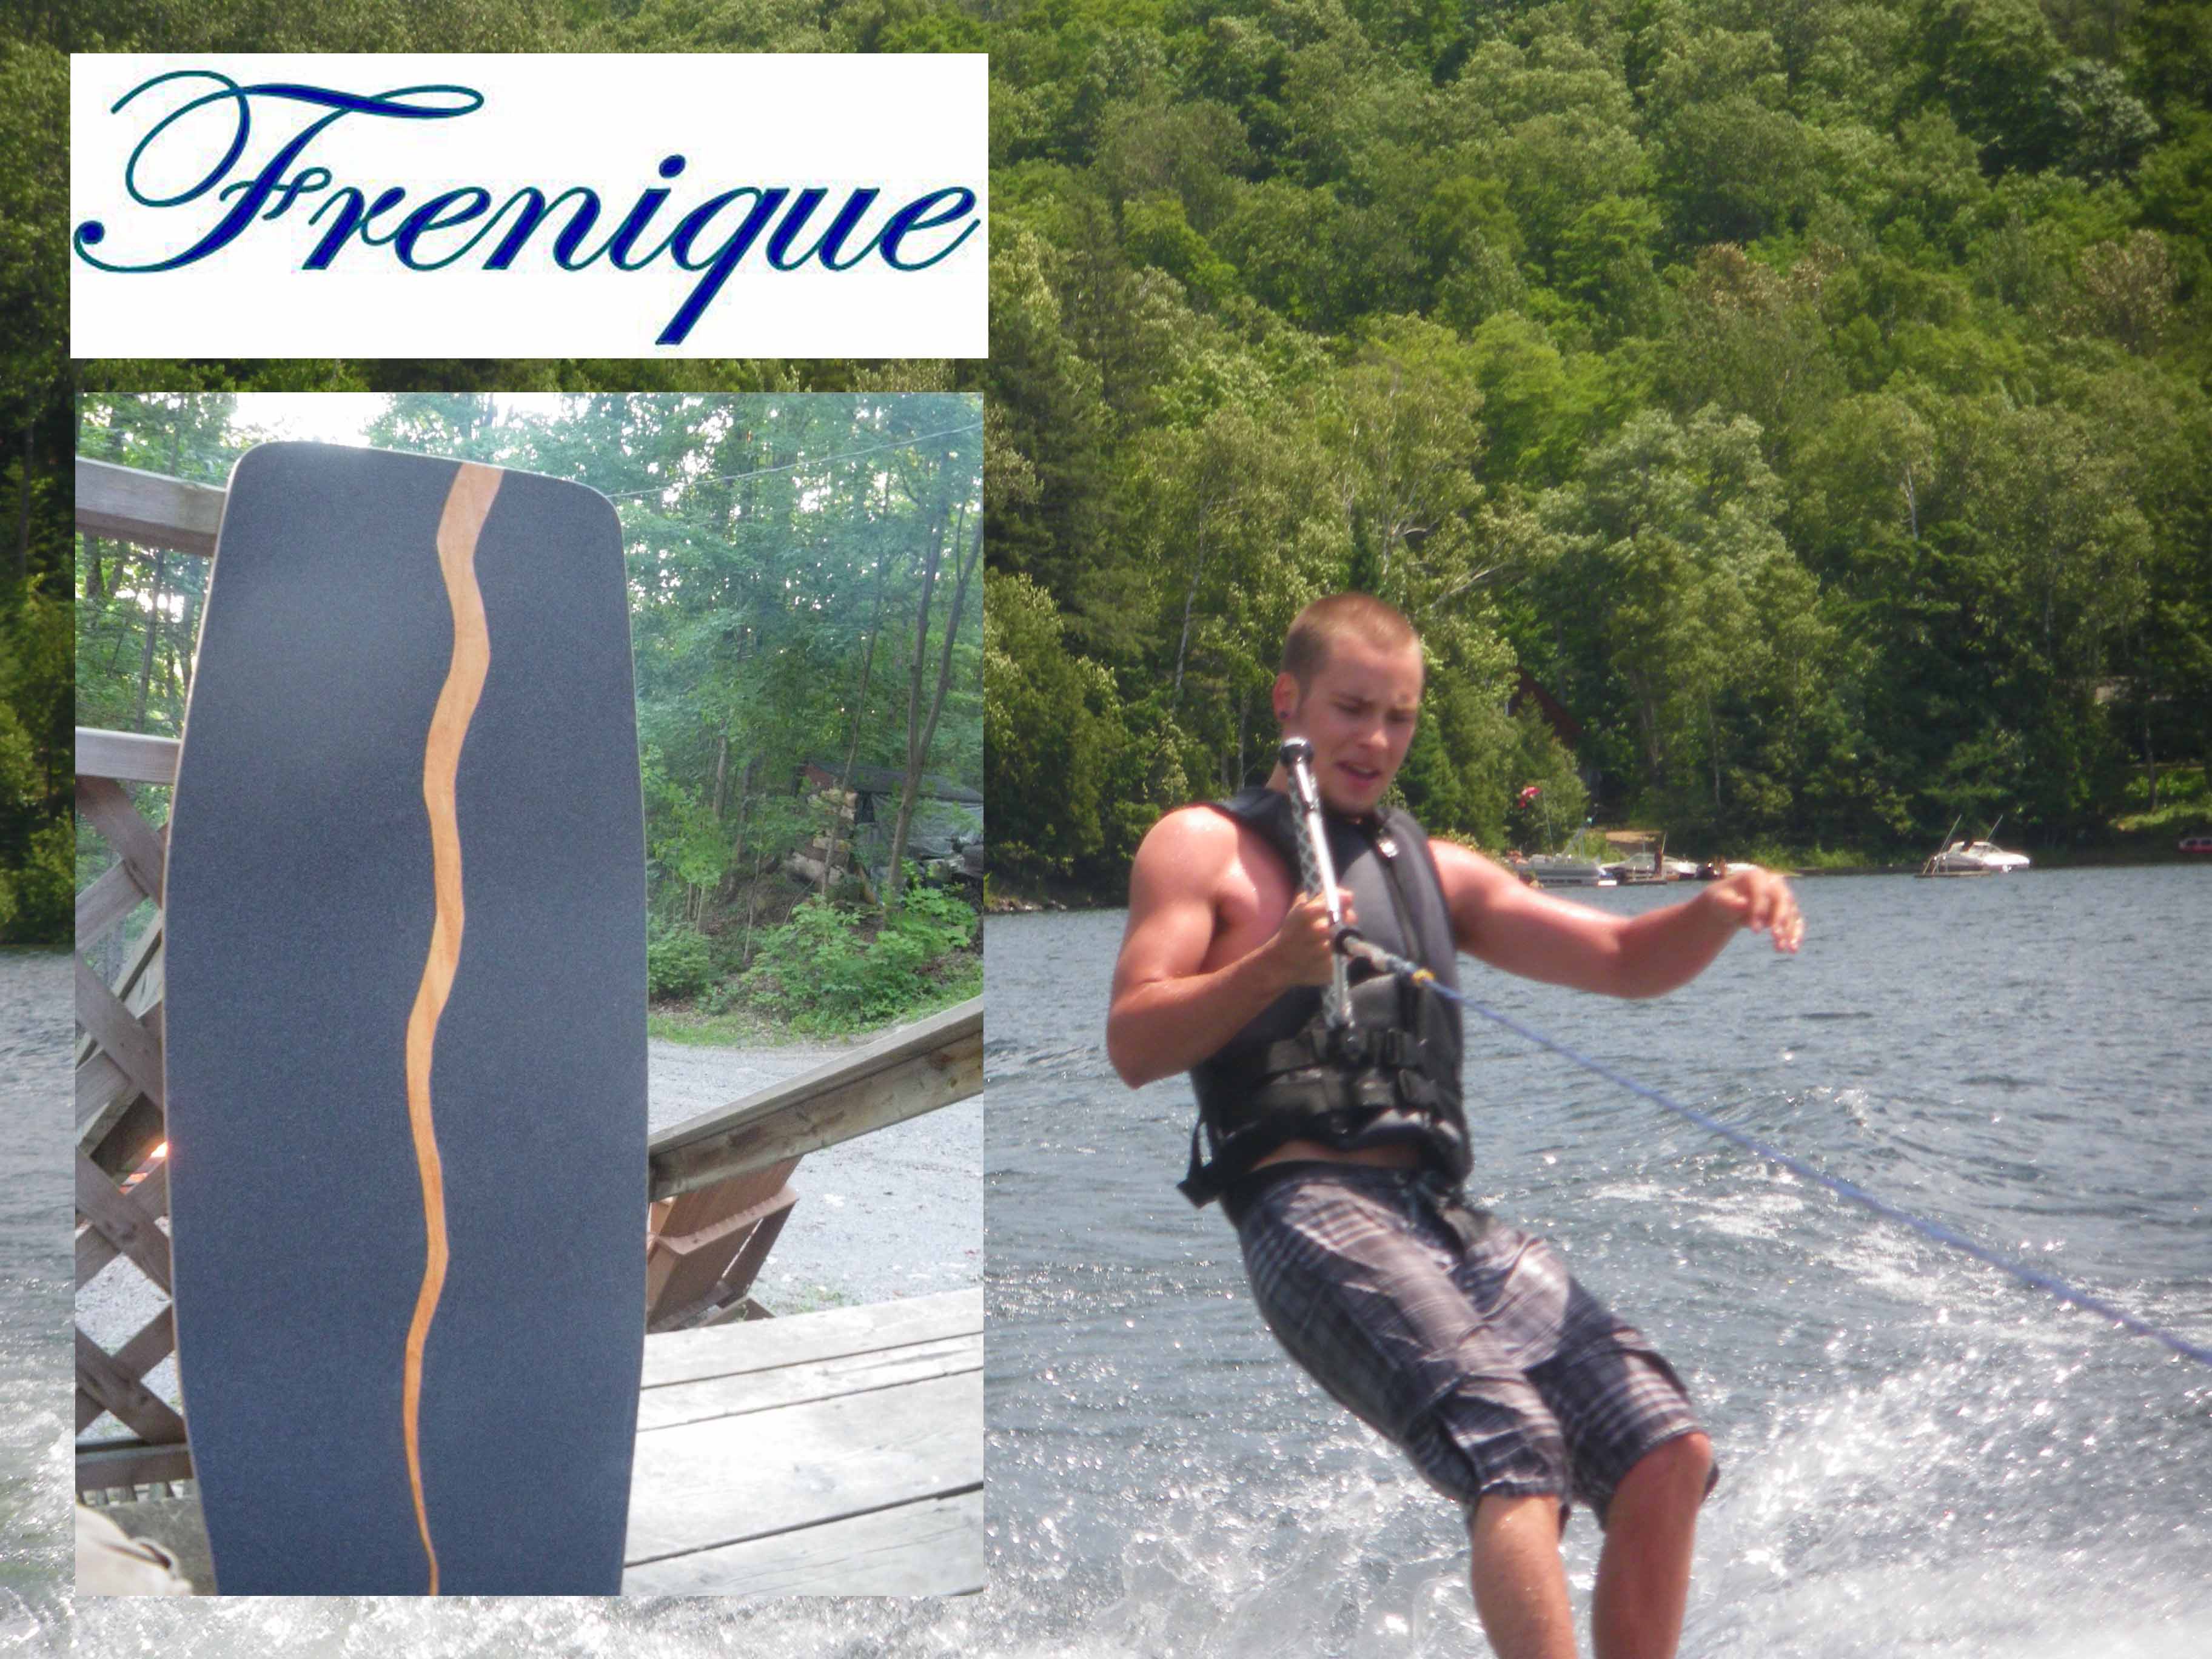
**The following post was written by a talented builder named Matthew Richardson, who runs a company called 'Frenique Customs' out of Pickering, ON.
“We're Fresh and Unique”
If you have made a longboard, you can make a wakeskate! How awesome is that!!
For me, it was pretty rad to start making my own longboards, and a wakeskate is basically the same thing, only difference is that it's used on water.
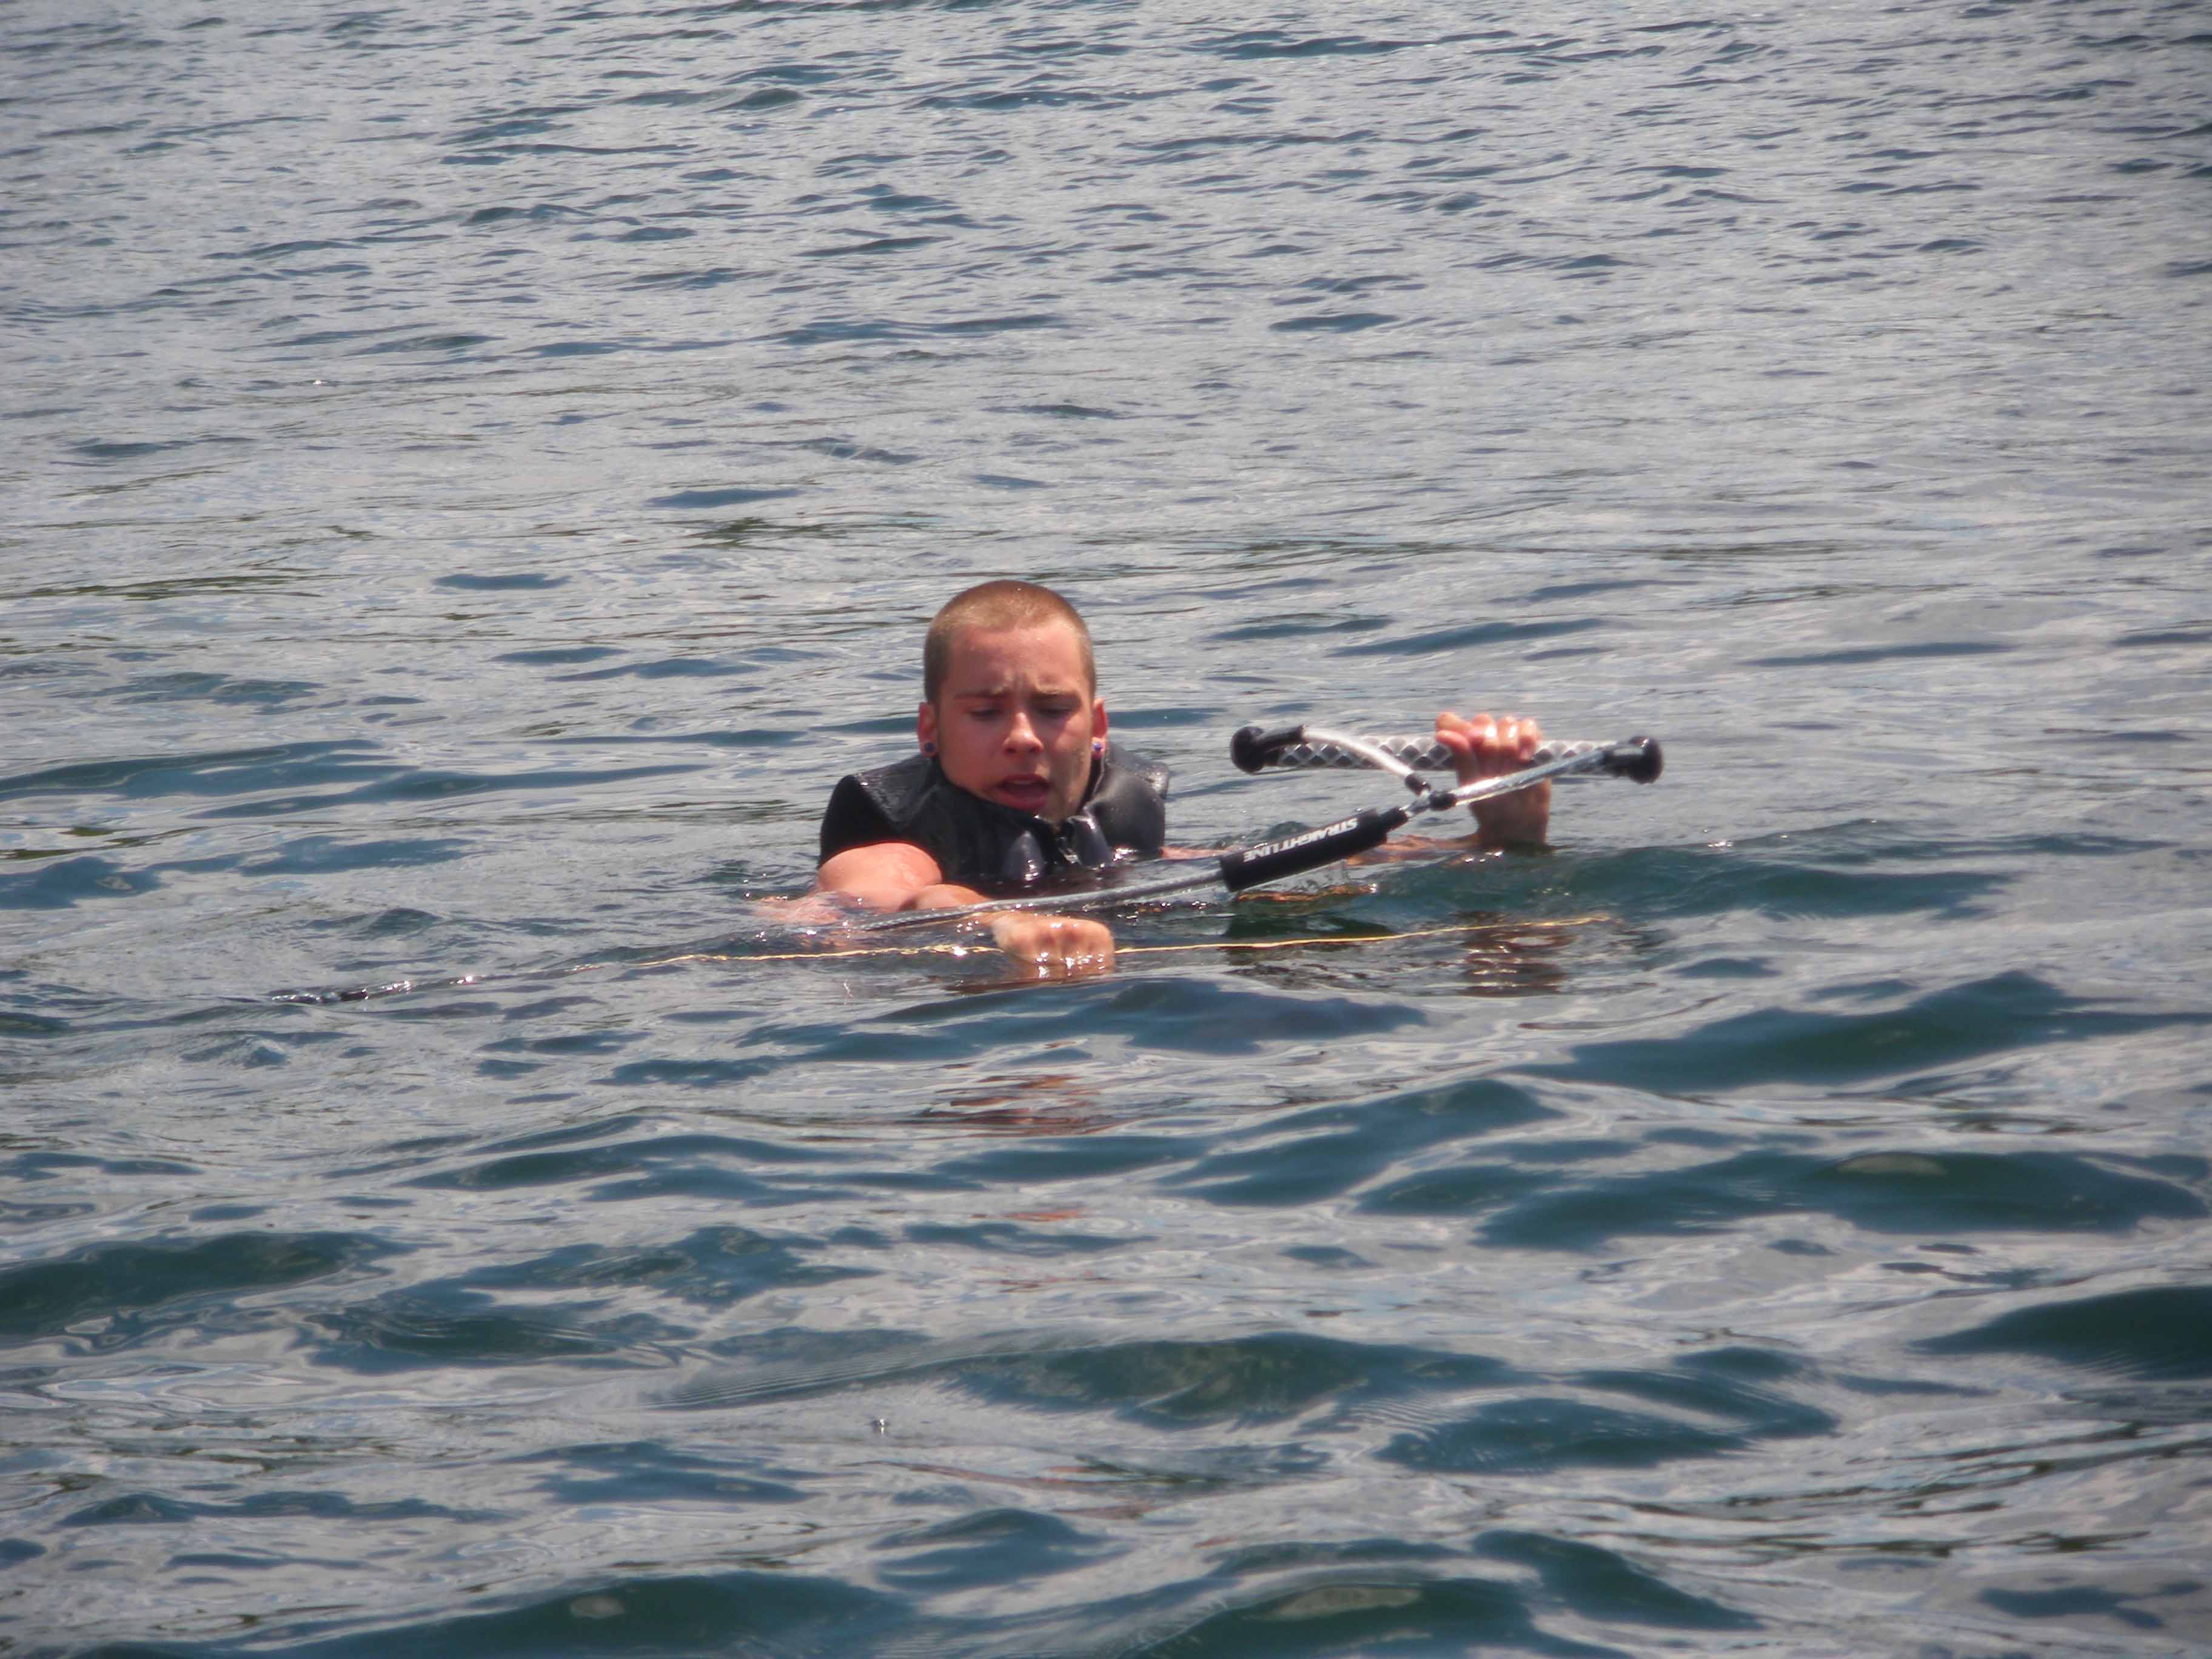
Here is some history of how I learned about wakeskating - I personally spend almost every weekend at my cottage. We have a boat and I started wakeboarding 4 years ago. A friend of mine bought a wakeskate, which is basically the same thing as a wakeboard but without bindings and you usually ride it with grip tape and an old pair of skate shoes. A lot of people look at you when you’re telling them about the sport and think that it's crazy... "your going to fall all the time!". Yes, I may fall a lot... BUT, you’re on water dude. That doesn’t hurt like pavement. GIVE IT A TRY!!!!
The Roarockit Skateboard Company gave me the ability to use their method and products to make a solid longboard. I have made prototypes from this process, and it has led me to meet some really cool people, and some rad kids with tons of potential. I had the urge to make my own wakeskate and see how riding my own creation on the water would feel... would it work? Who knows until YOU try.
Roarockit started selling a wider veneer (24" x 48") and wider bag earlier this year, so it gave me the perfect chance to try and build my own wakeskate. I placed an order and Chris 'Burns' Bennett (Manager of Roarockit) was nice enough to drive it to my house personally (I live on his route home luckily enough). I met with Chris and chatted for roughly an hour as he delivered my order of 10 double-wide sheets of Canadian Maple veneer and my 36" x 52" TAP Bag. I was going to try a 4 ply board and a 6 ply board... this review is for the 4 ply board.
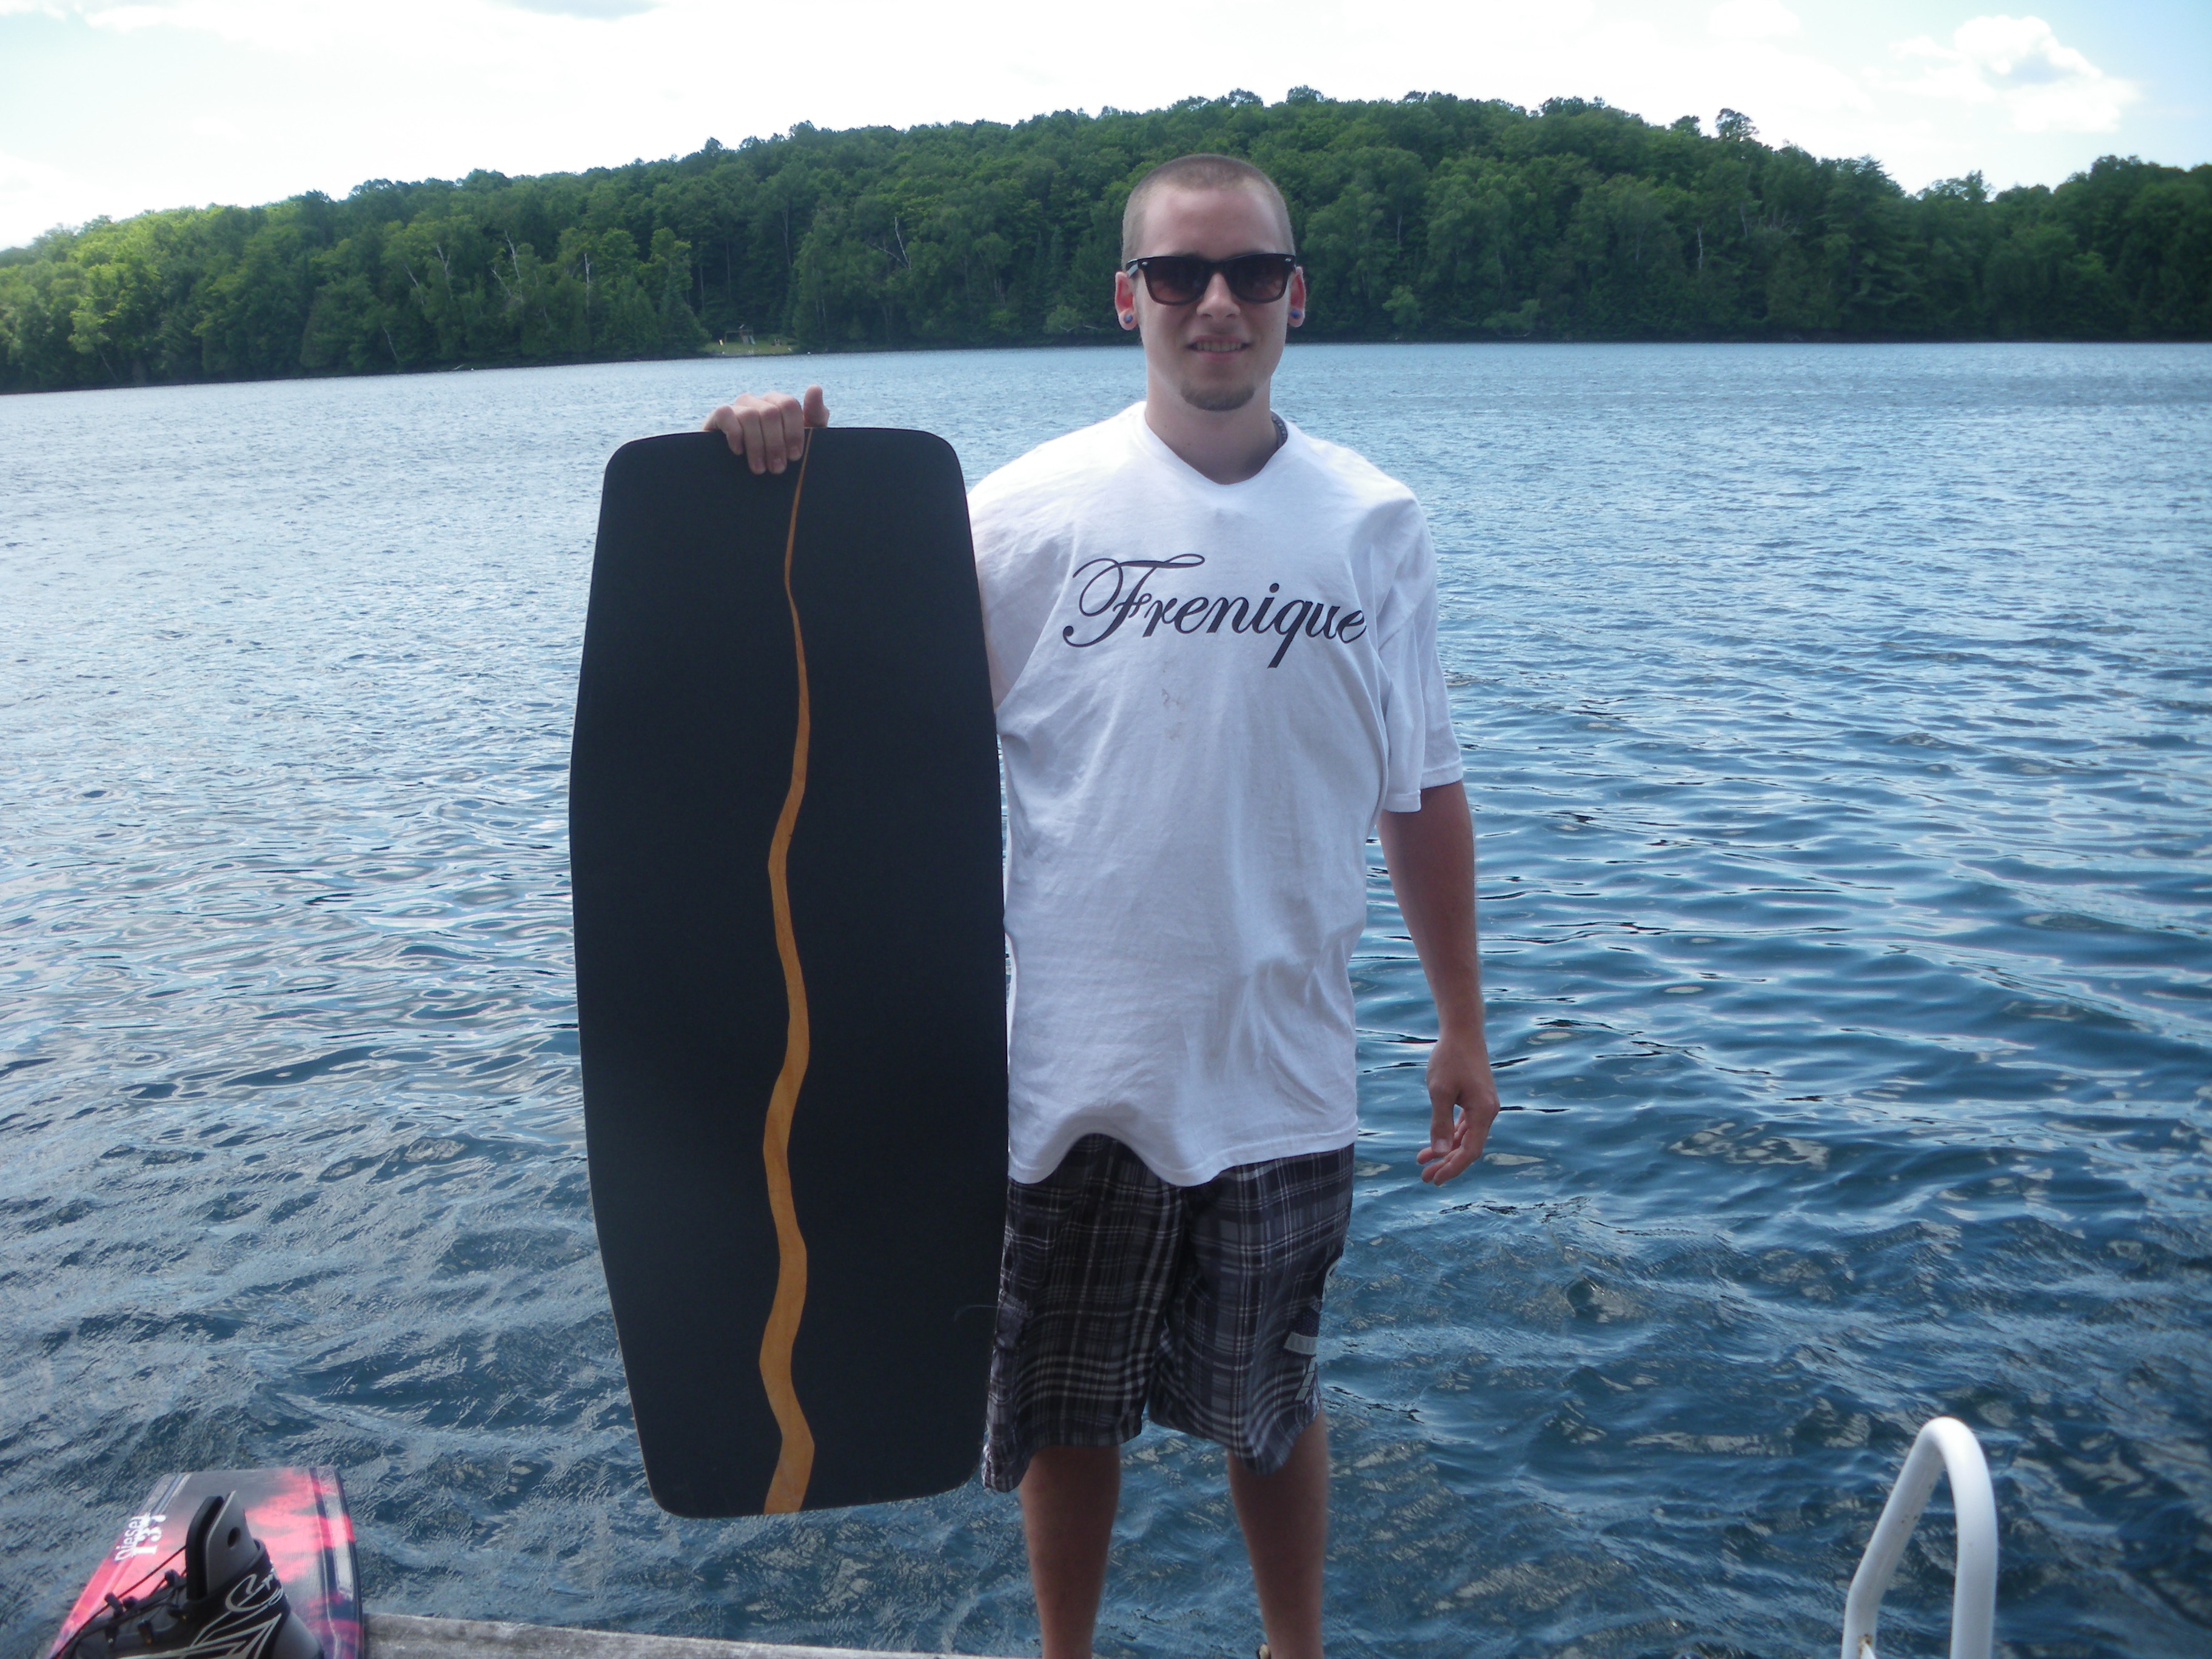
I went with a triple stage rocker, with 1.5” in total height. I wanted a large surface to ride on top of the water so I went with a 16” wide board and 41” in length. I wanted to have the sides symmetrical and the corners to be cut, but with a rounded profile to allow easier spinning and smoother cutting side to side. I own a roll of Jessup Grip tape, so I used 2 - 9” wide pieces to cover the majority of the board.
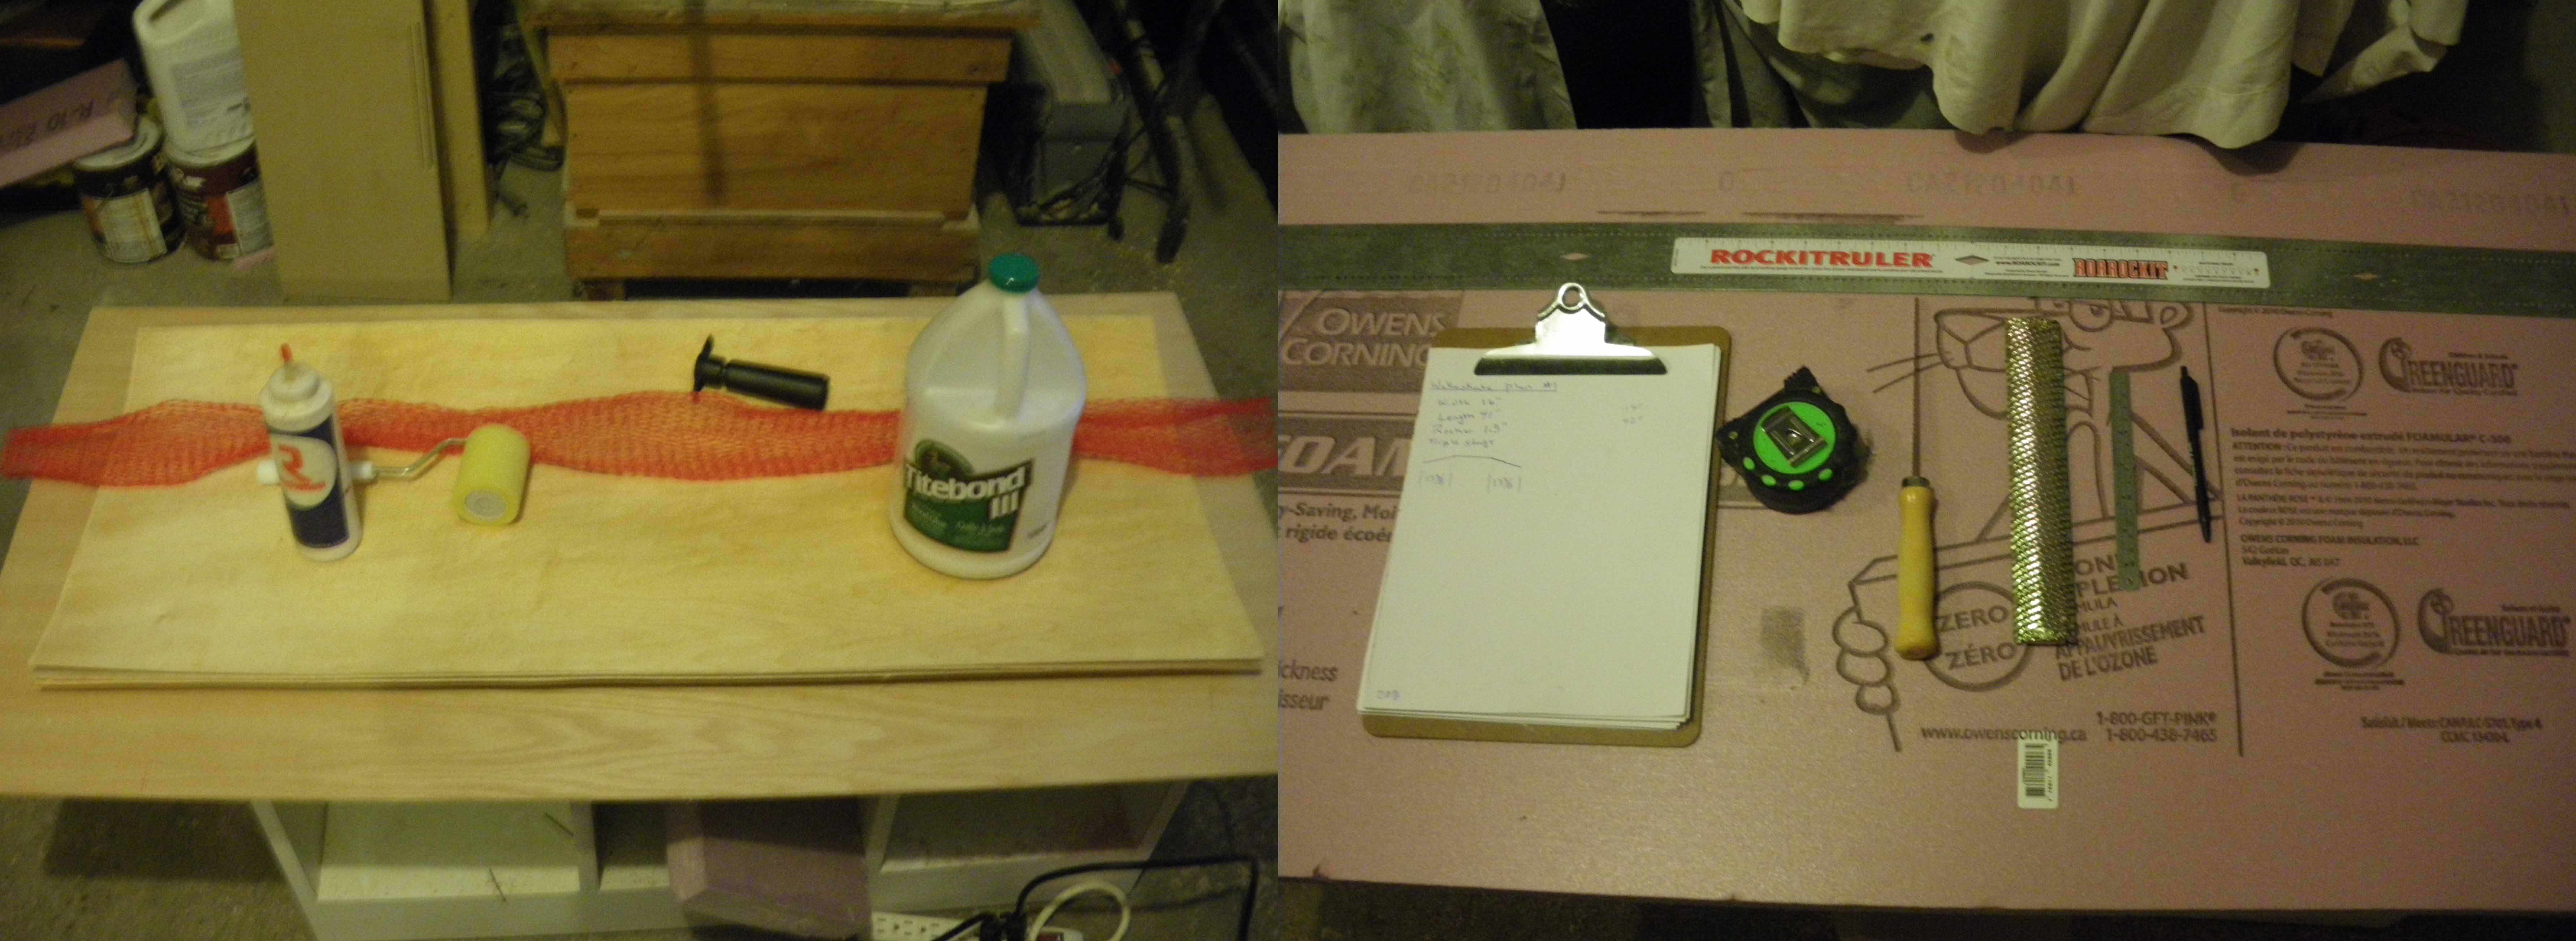
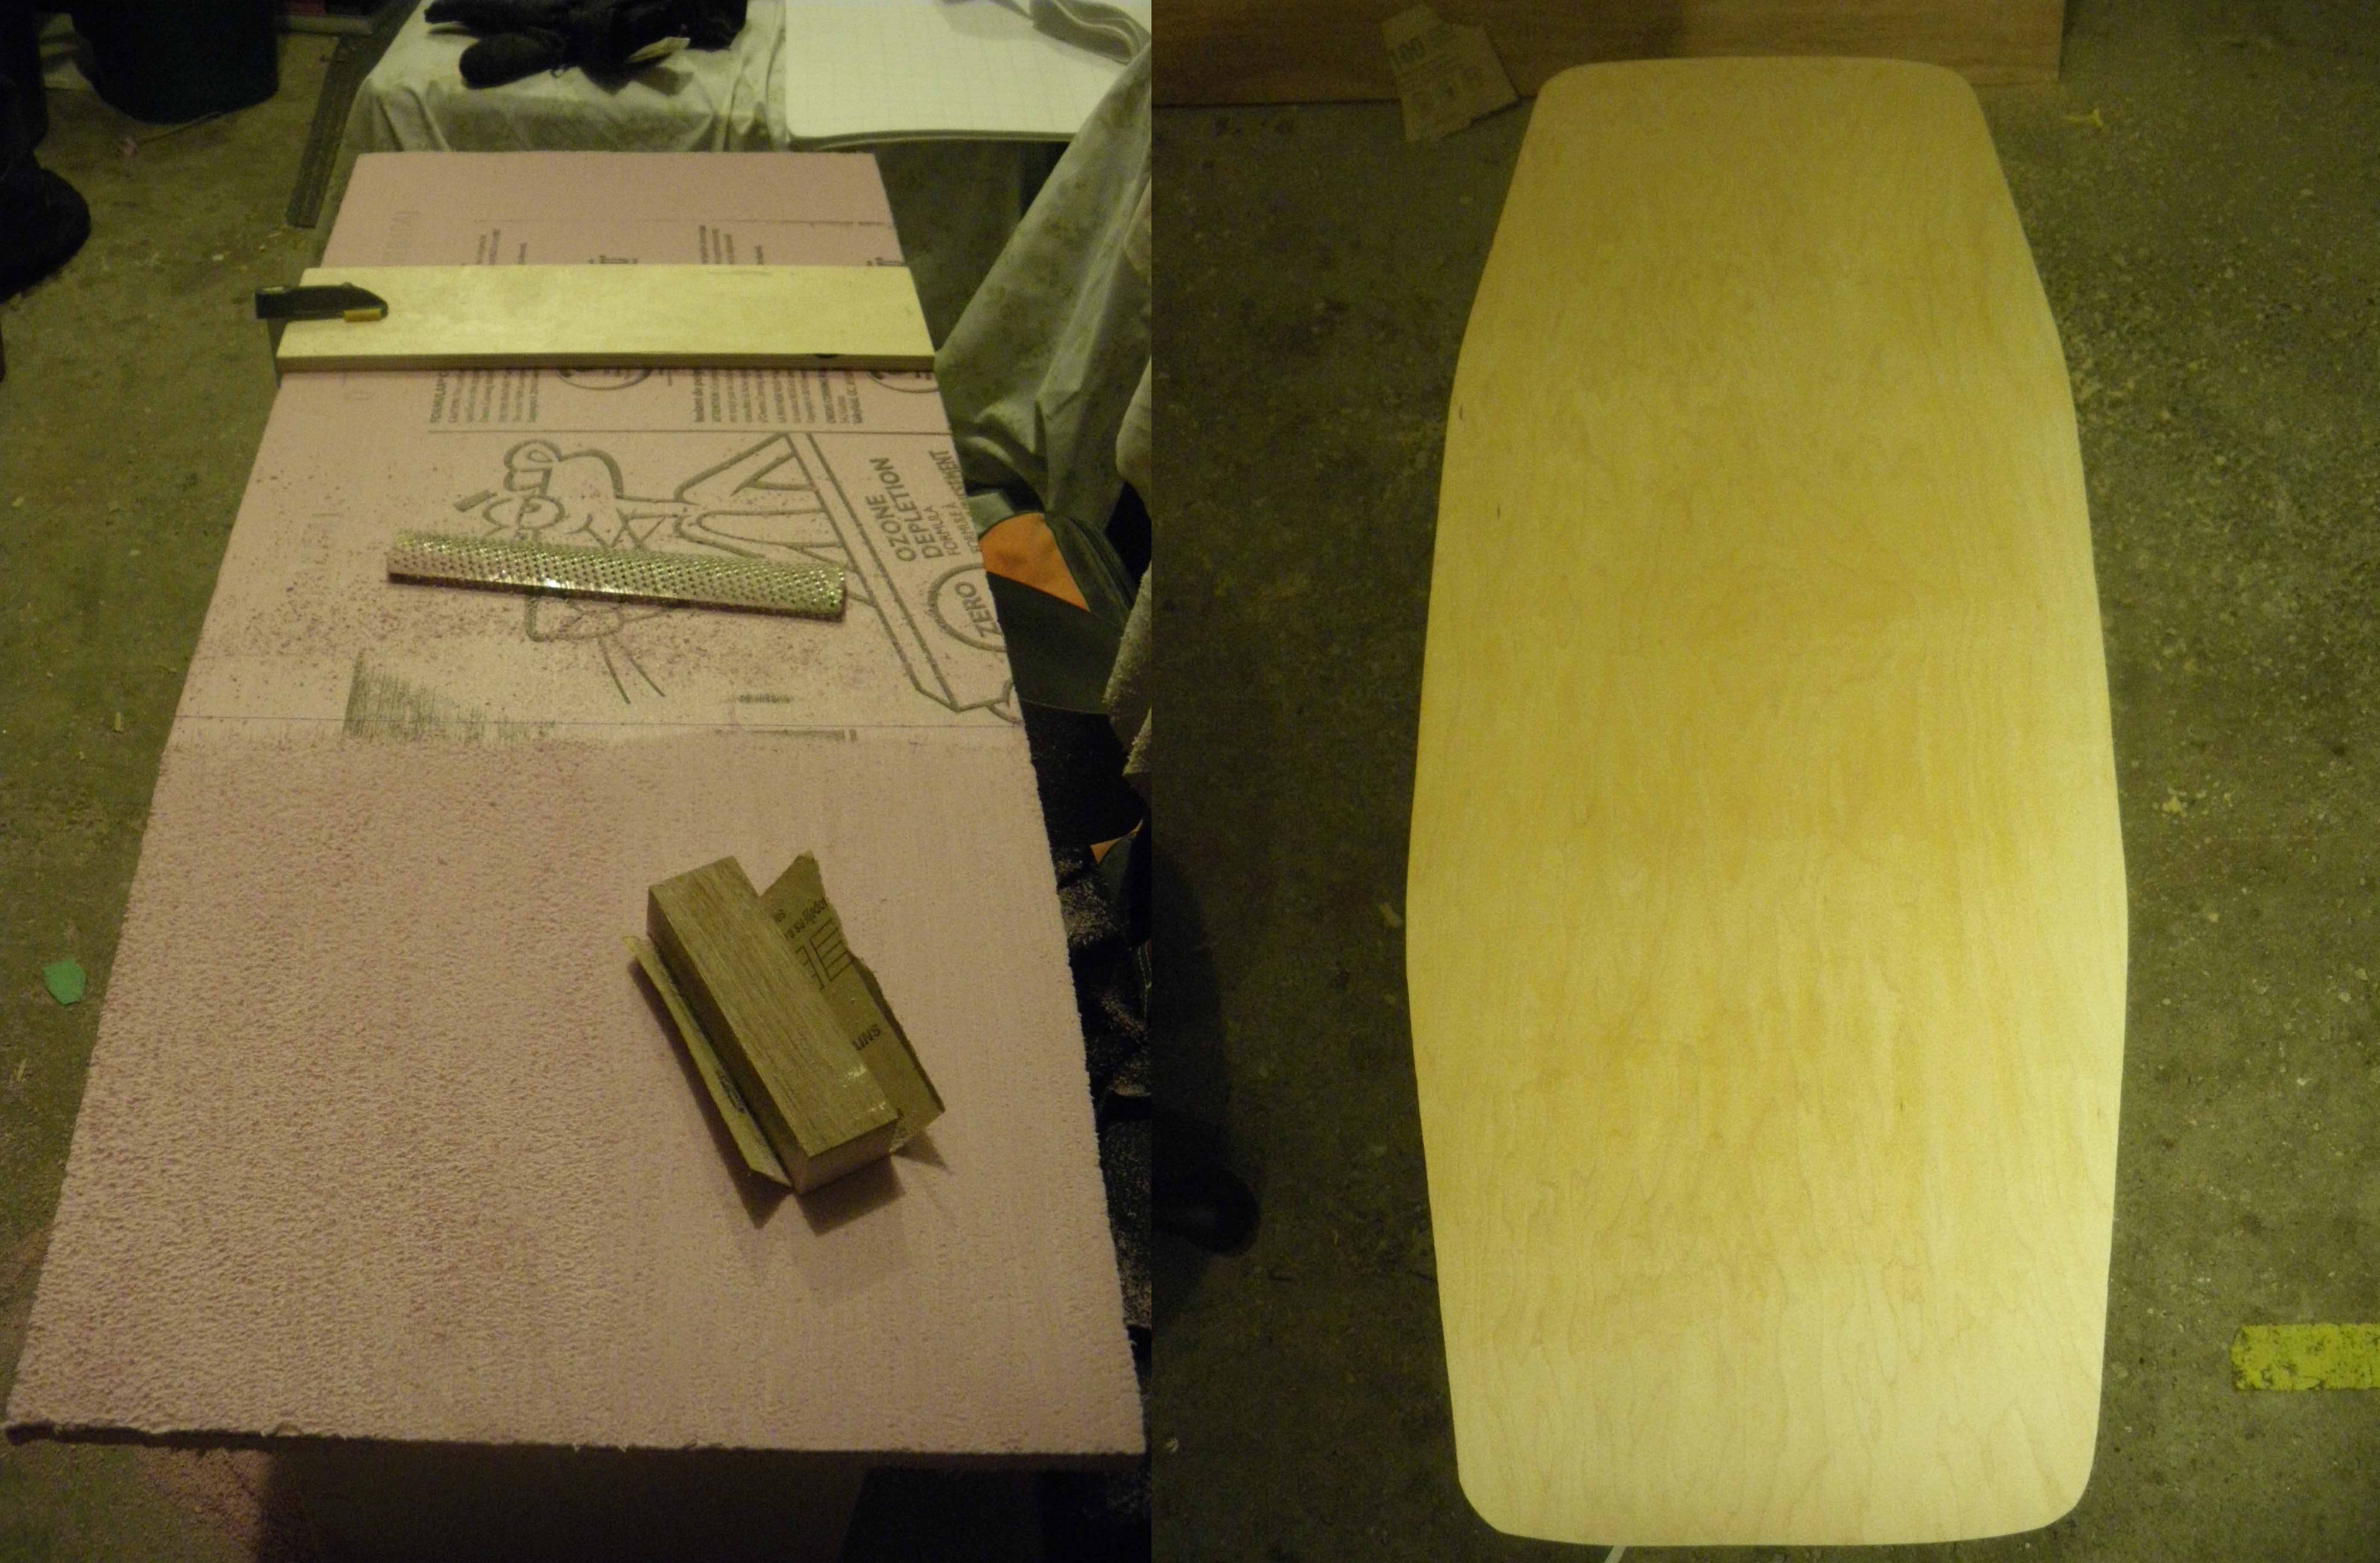
The veneers are the same Maple used in my longboards, so working with the wood and how the mold works is the same process, just a little larger than normal. I used the same type of foam, which is the Pink rigid insulation that is 2” thick - I find it carves nice, and somewhat quick, by using a bondo rasp and then sanding to smooth out the rough cut foam. Once you draw out your wakeskate design, it is just about having a good eye, some patience and determination. With my mold I had a lot of foam to carve compared to all my longboard designs, so it took more than double the time. I could have used a knife, but I find it to be inaccurate and prefer to use my rasp. I added a ½” around my board mold, so I have as little as possible excess of the sides and front. I had to cut the width of my veneer to size using my table saw, and I cut it to length using an exacto blade. My mold and veneers are now ready to be pressed into the raddest wakeskate I have ever made!
This being a new mold, I wanted to do a dry fit (without glue) to make sure all my veneers would press evenly and there would be no gaps between the wood and my mold. My first dry fit went great, there were no gaps and the top layer was nice and smooth. Now that I know this mold works... its time for glue. I used the waterproof and inexpensive Titebond 3 glue. I am also going to epoxy the entire thing after I cut and sand it, so that the board will seal properly and last longer.
I got the board in the bag, I made sure to check the bag frequently and then let it sit over night till I got home from work and checked it out.
It totaly worked, how crazy!!!
I removed the newly pressed baby... I mean board, from the bag and checked out all its edges. I was able to get a nice lamination from this pressing, which got me even more stoked to ride it. I got right to laying out my design! I don’t like using a template, I use measurements and tools to draw it out, especially because it was my first wakeskate. I started with my center lines and then measured everything off of those lines. I used a measuring tape, a small ruler, my Rockitruler, and something for drawing circles. After making my lines, I used a jig saw to cut the board out roughly to shape. I made sure to cut a little outside of the line so I can sand the edges. Through all of this, I went slow and steady making sure I did not mess up. Keeping a good line could make all the difference and how the board rides on water.

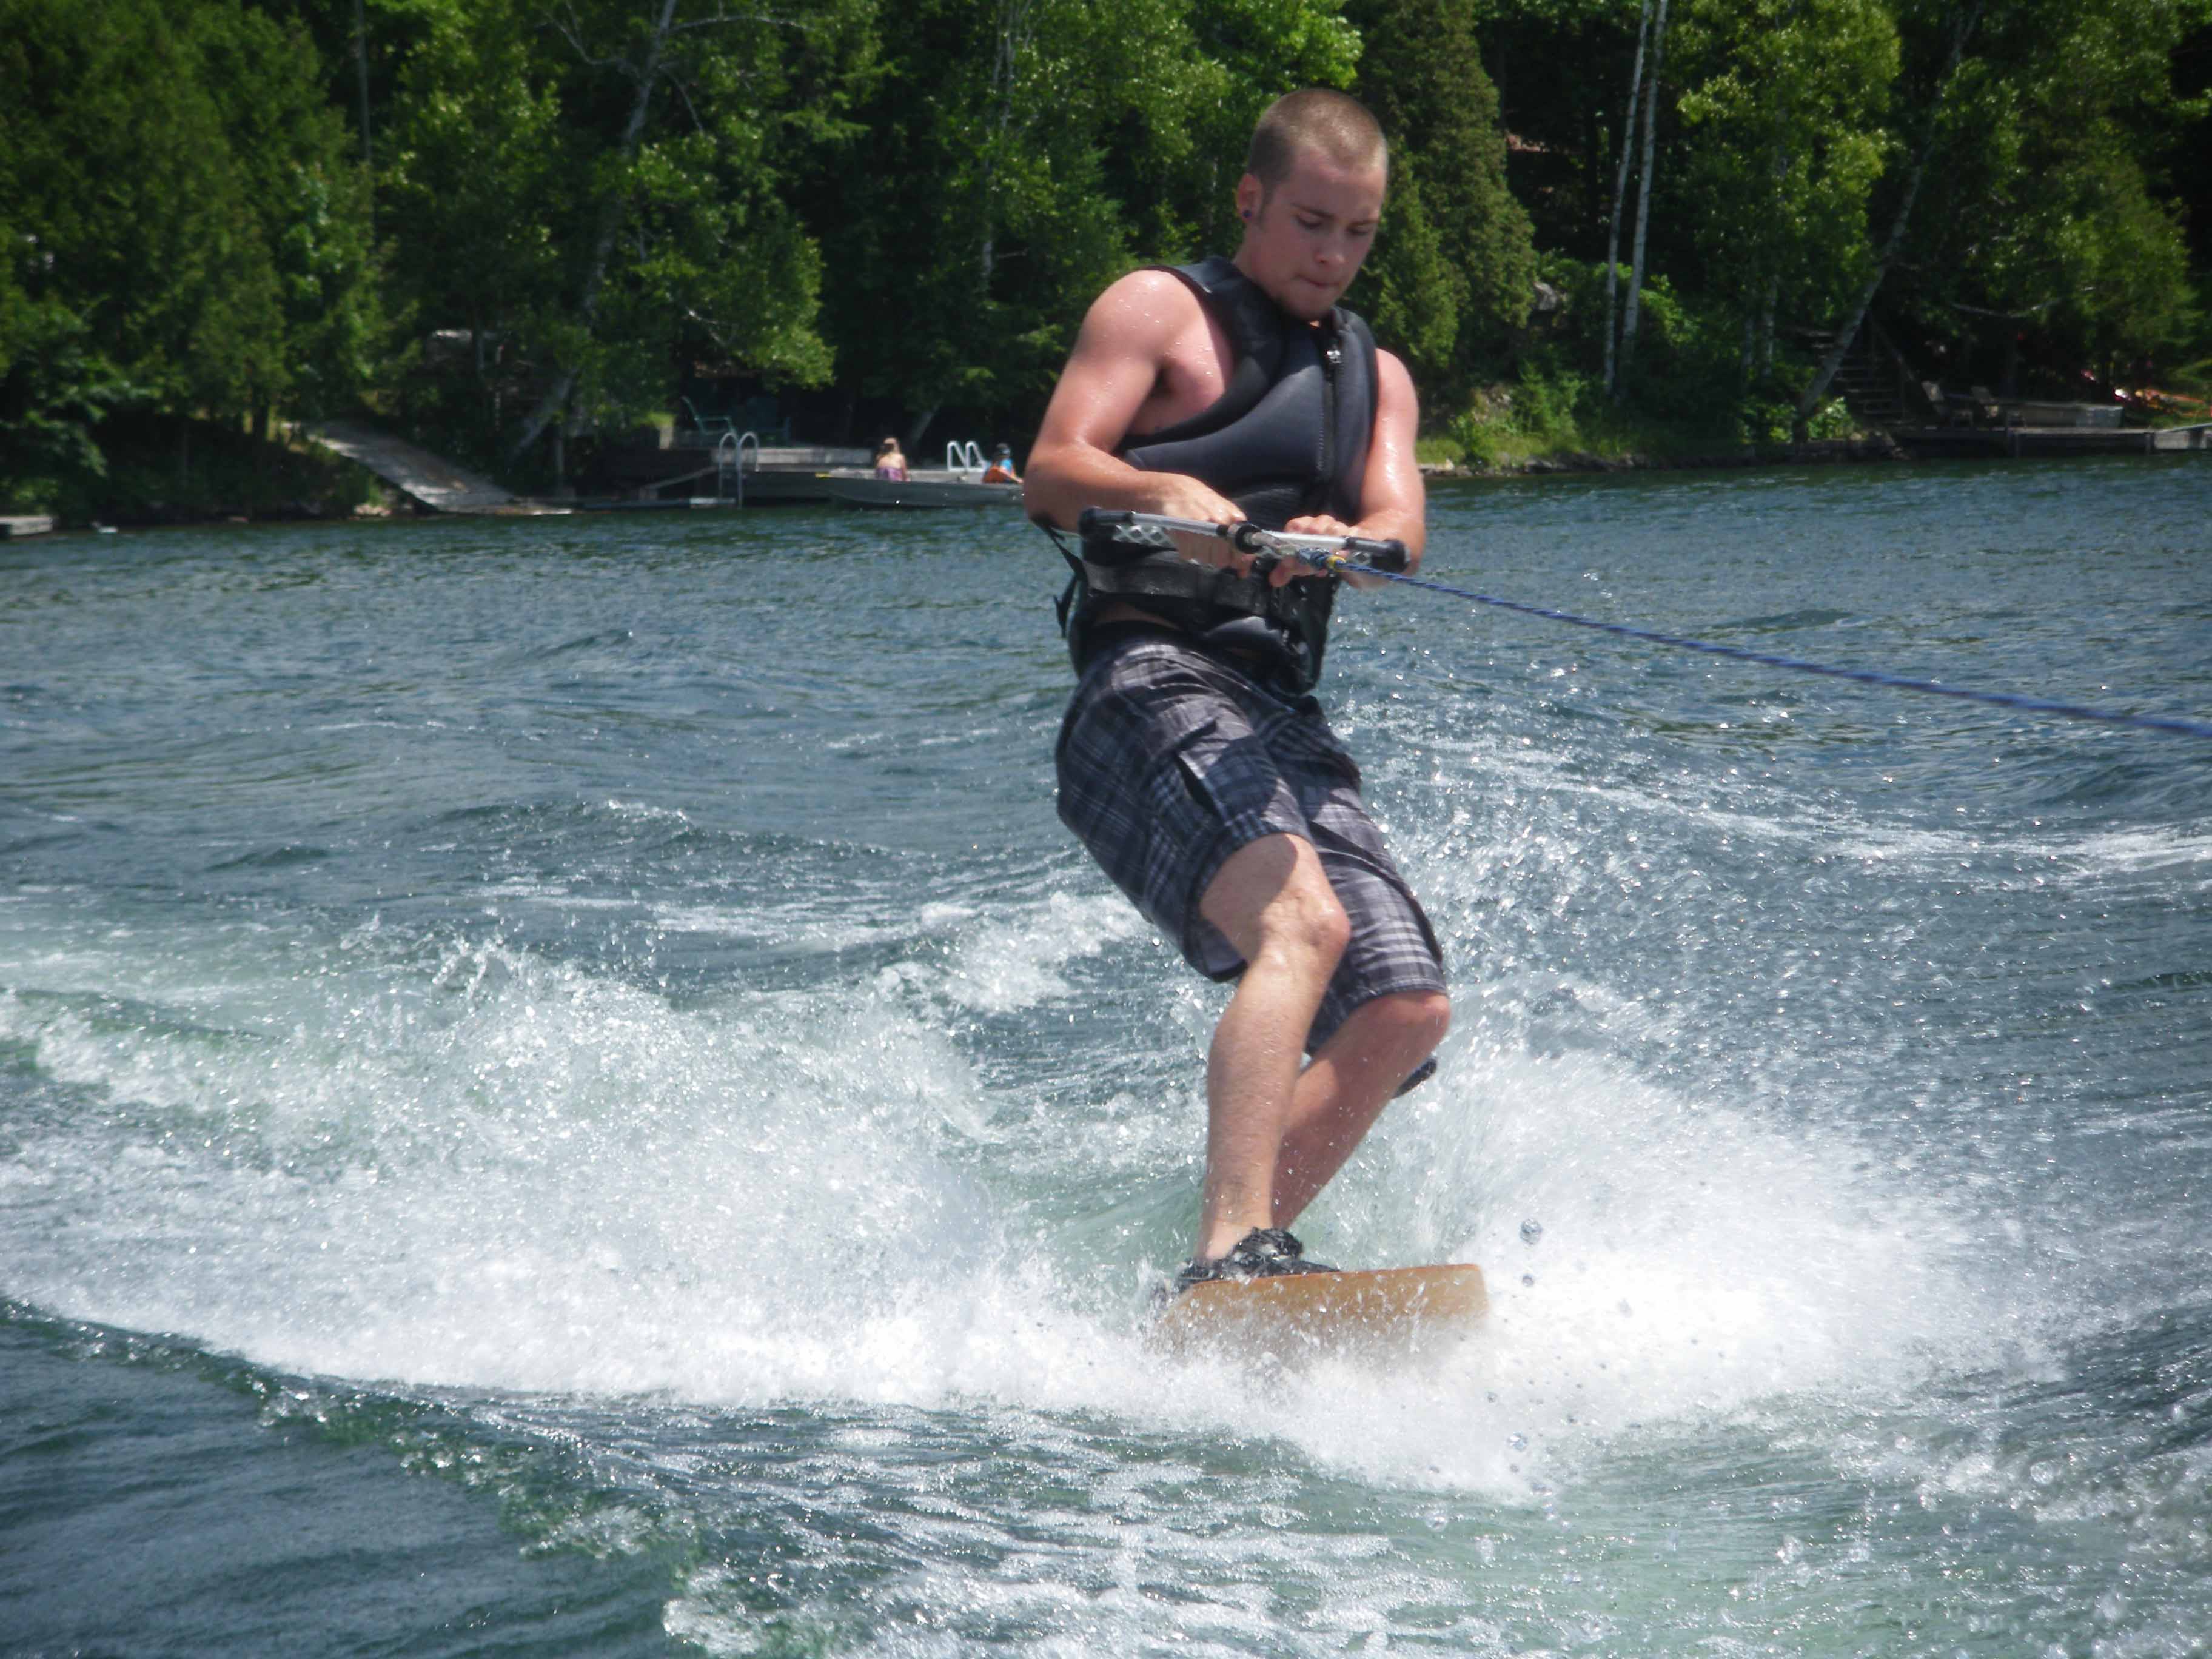
All said and done, the board was cut, sanded and I just coated the whole thing with epoxy. Next step, throw on some grip tape and hop in the lake!!!
**Check back soon for the stoke-inspiring conclusion of the 'Frenique' Wakeskate Review!

 Chris
Chris